

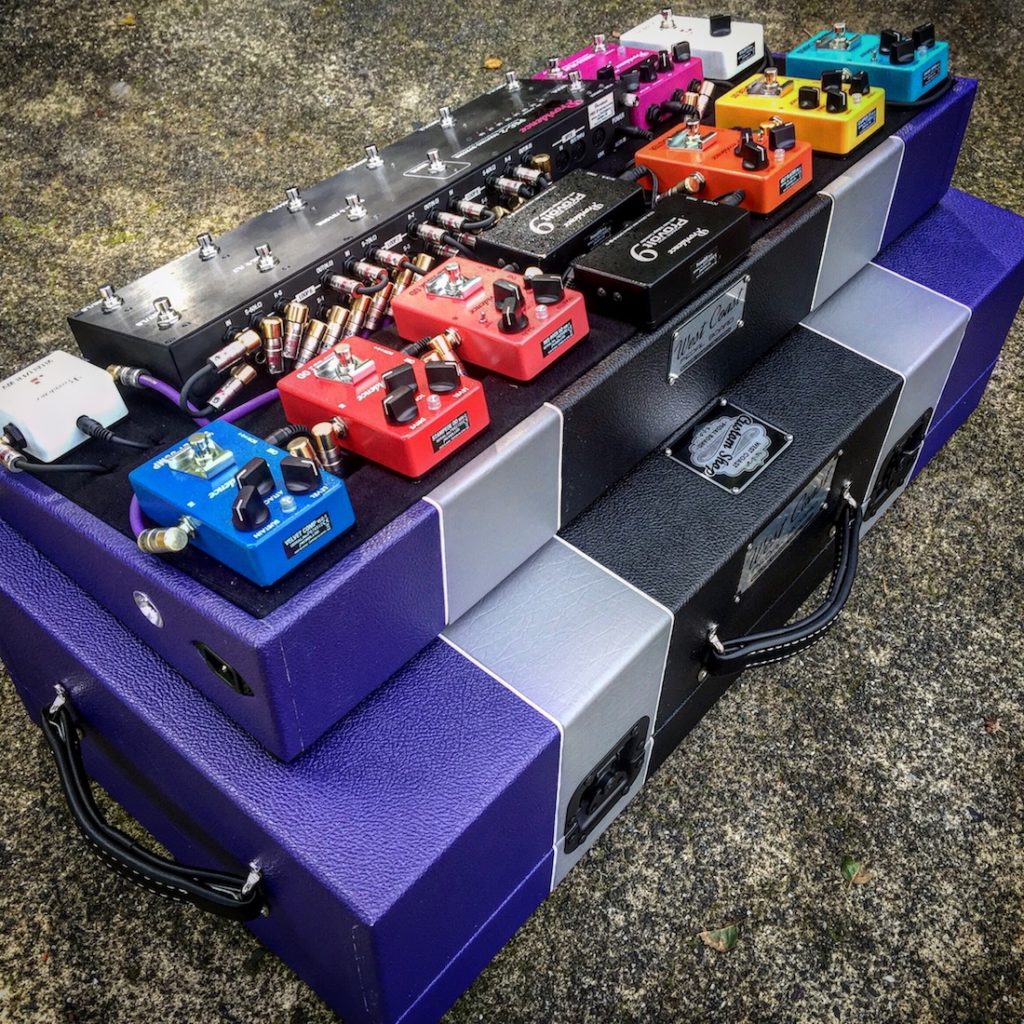
PEDALBOARD SWITCHER WIRING OVERVIEW:
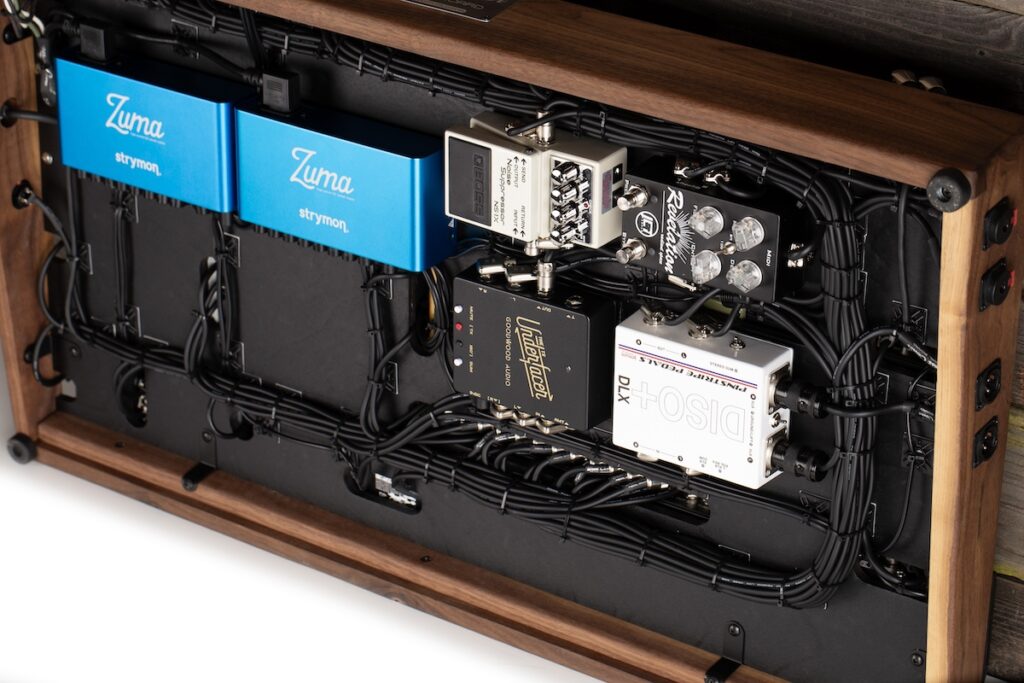
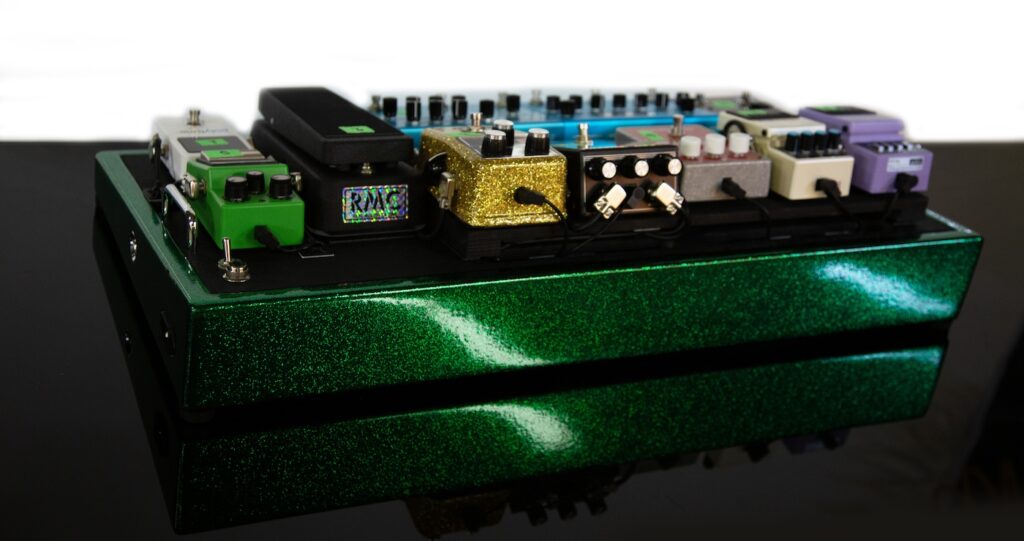
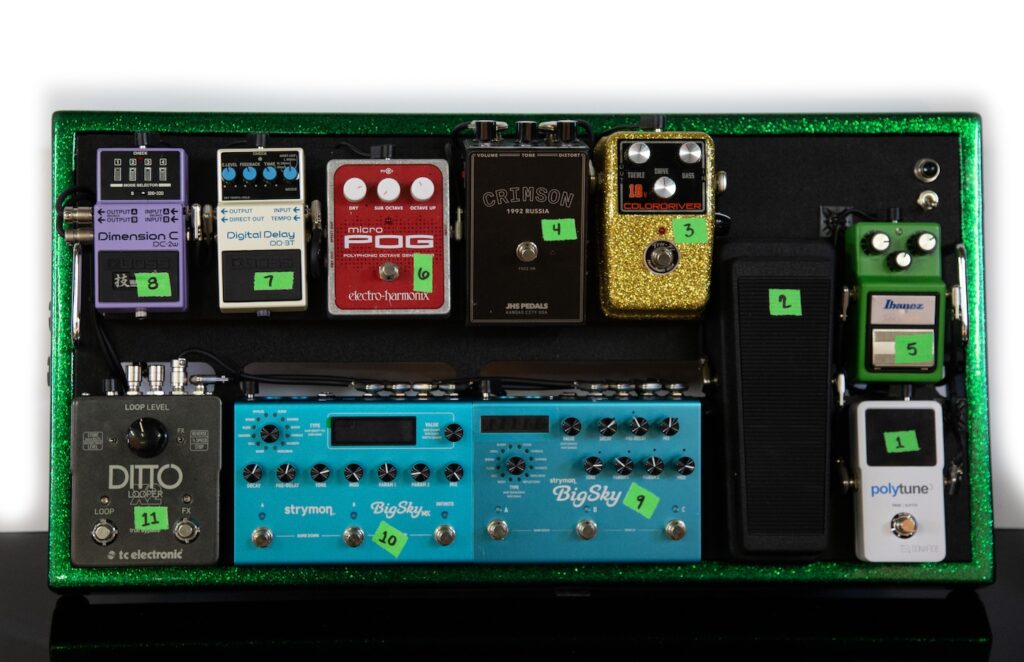
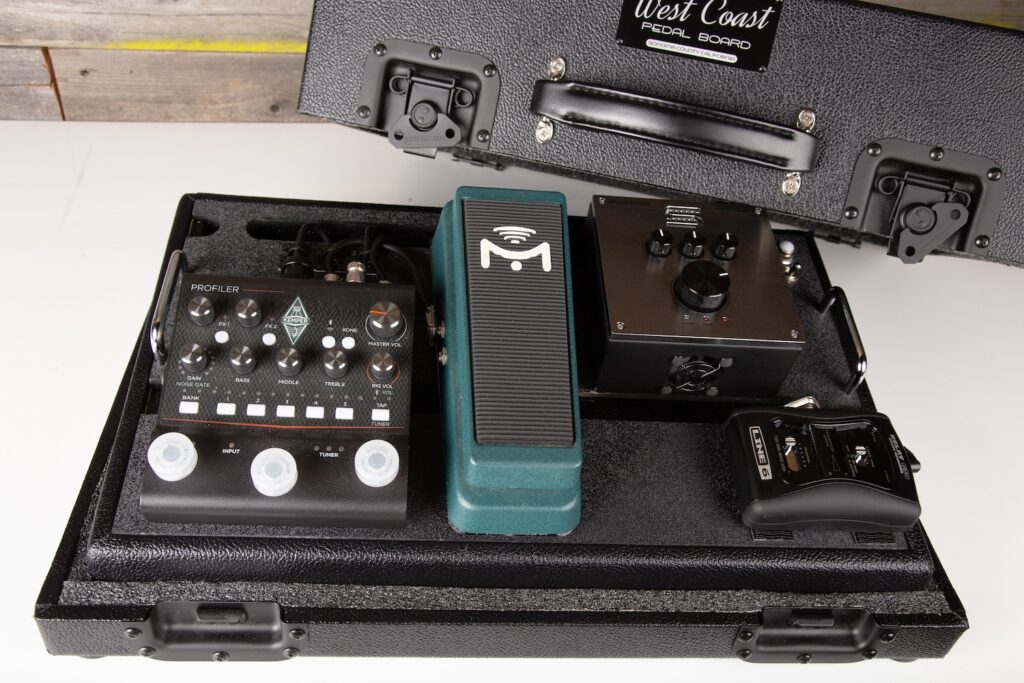
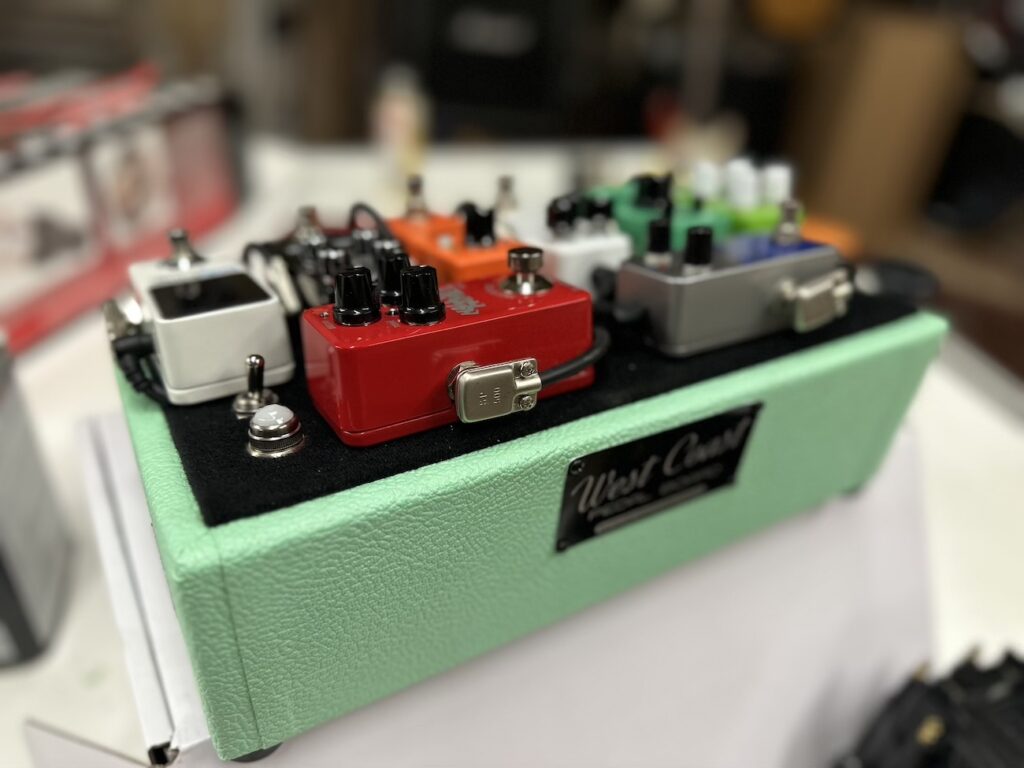
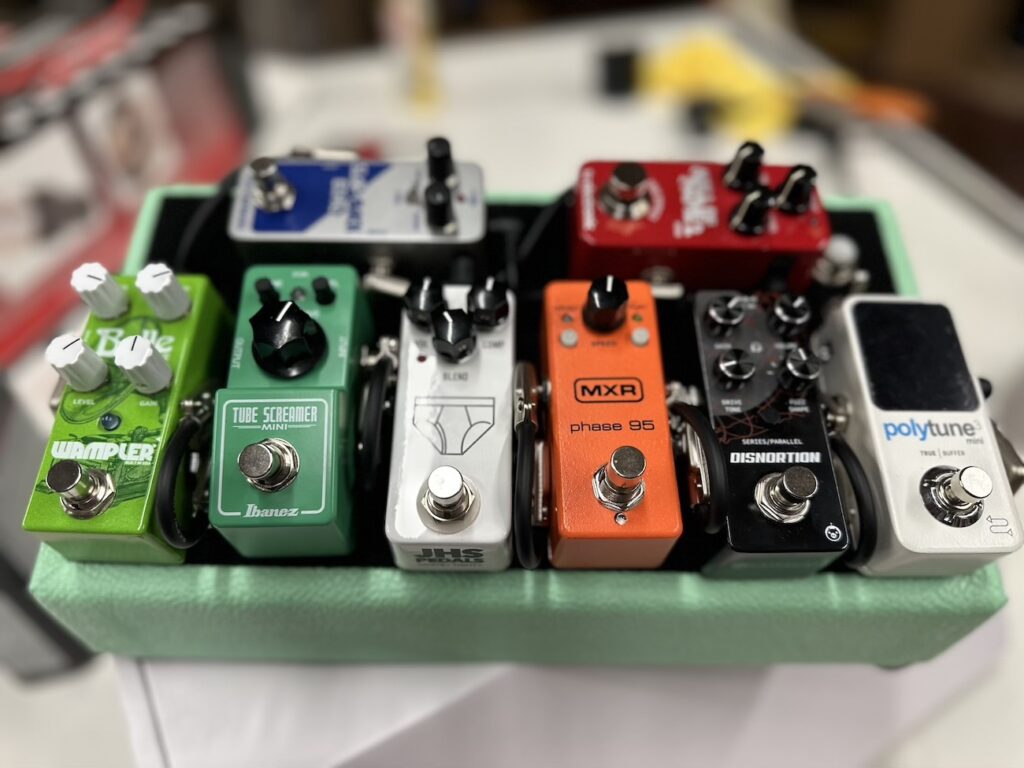
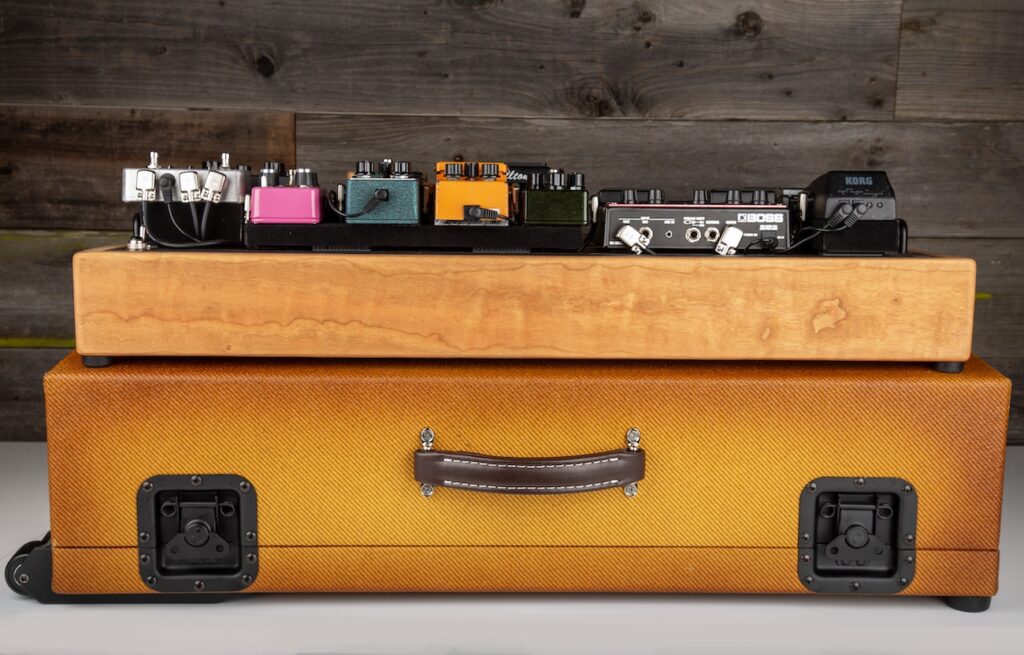
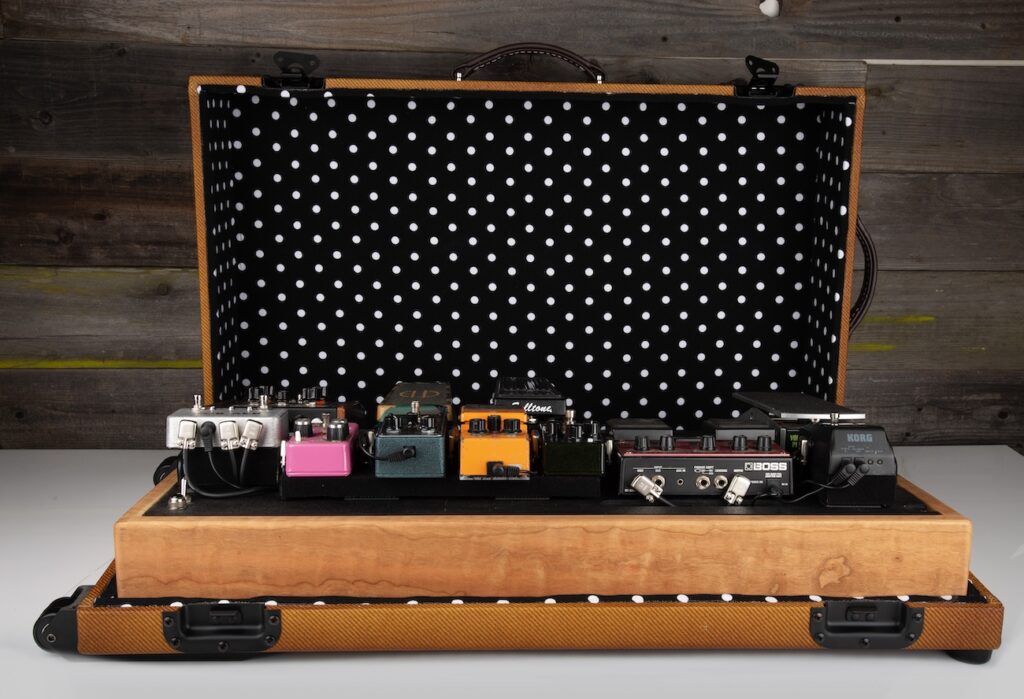
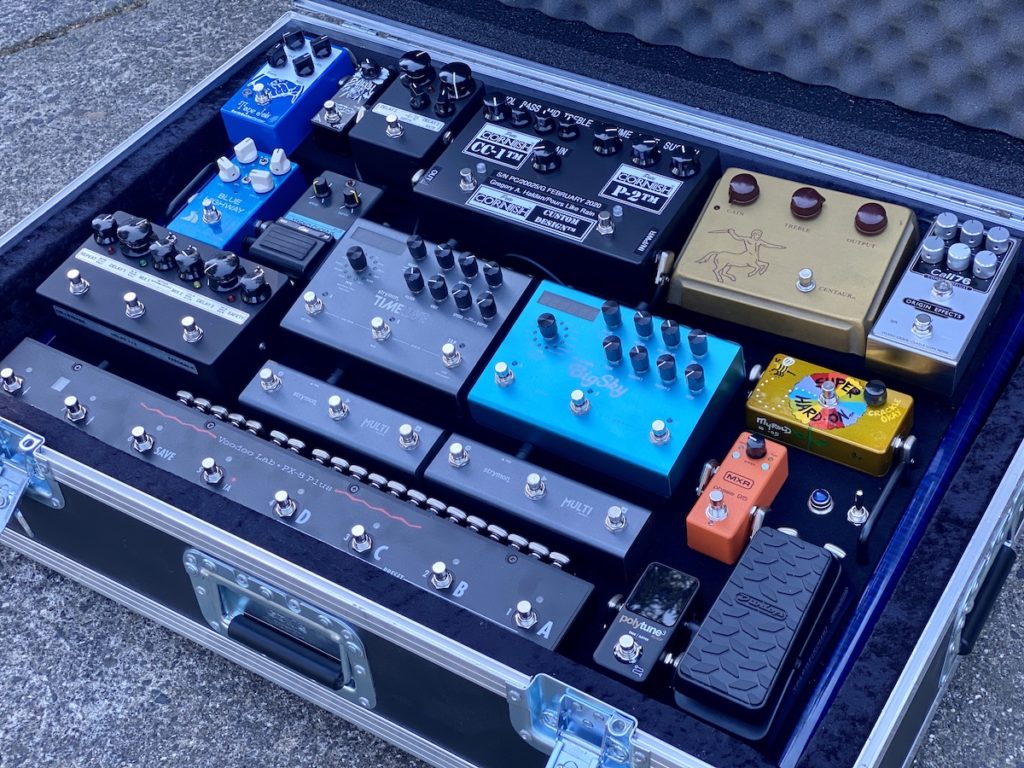
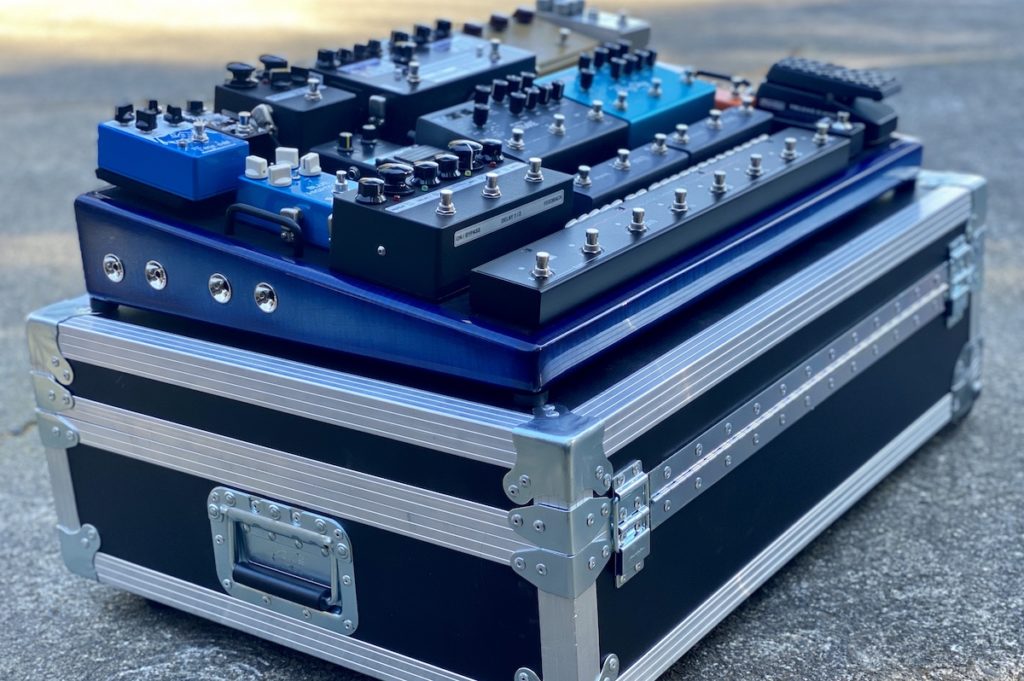
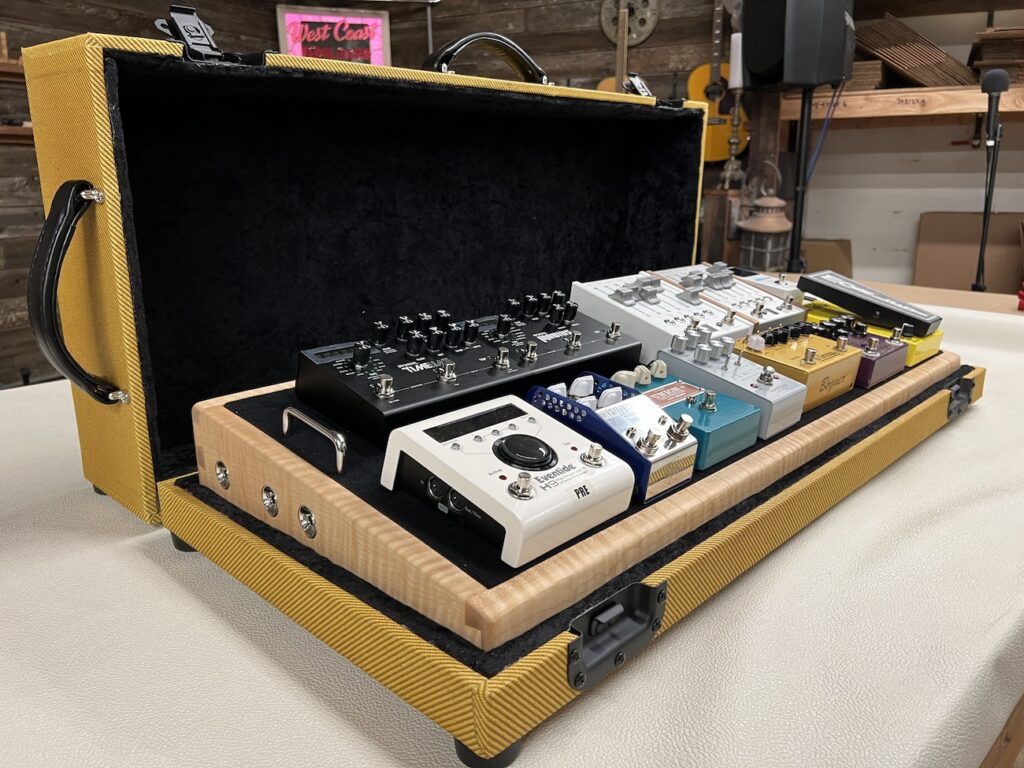
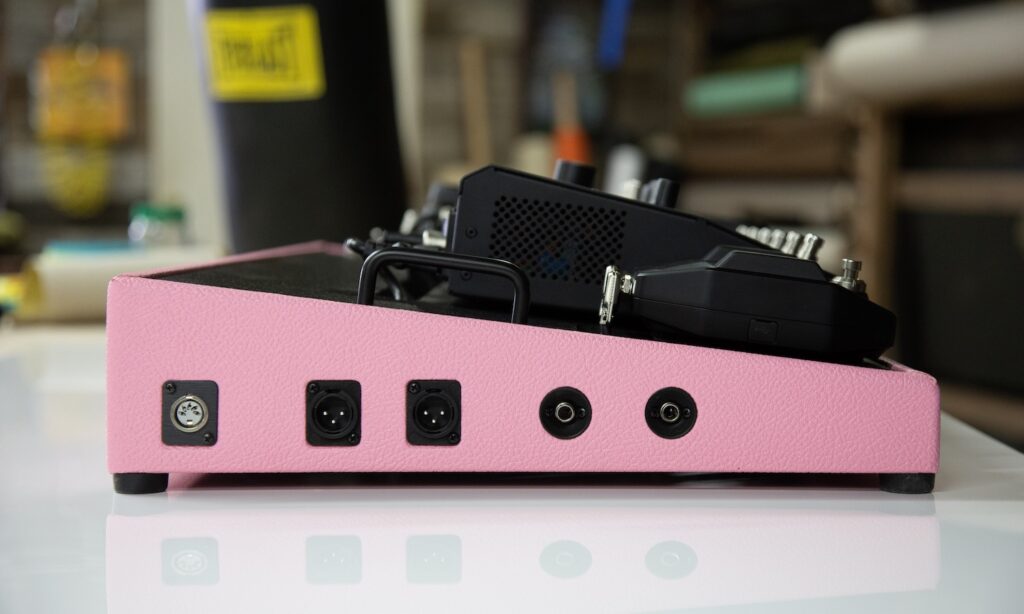
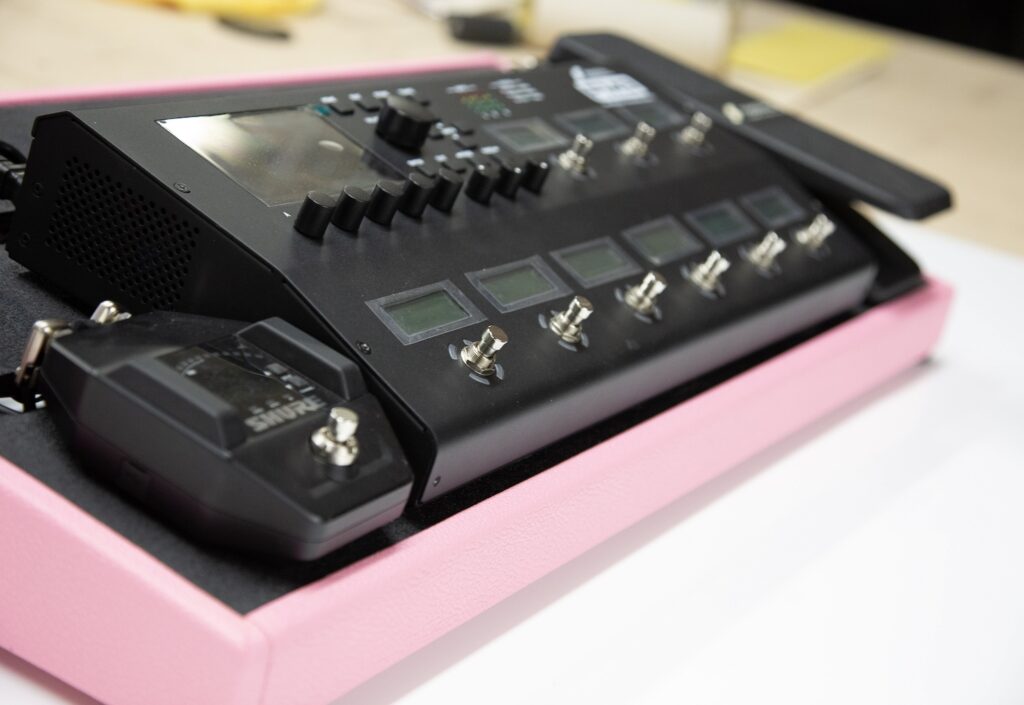
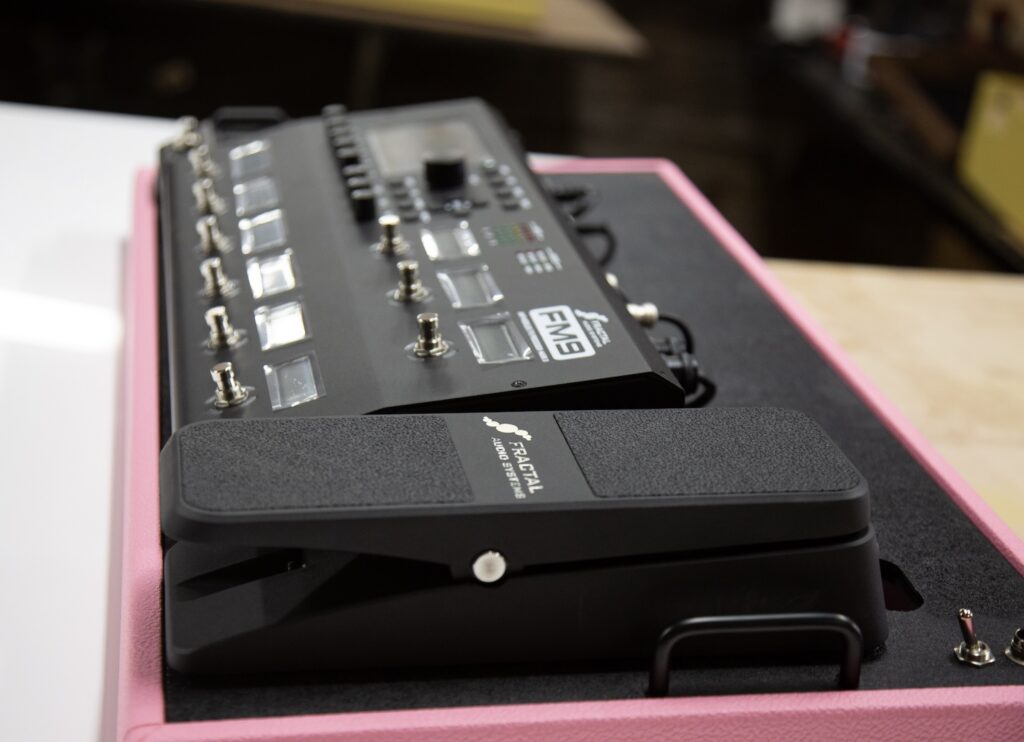
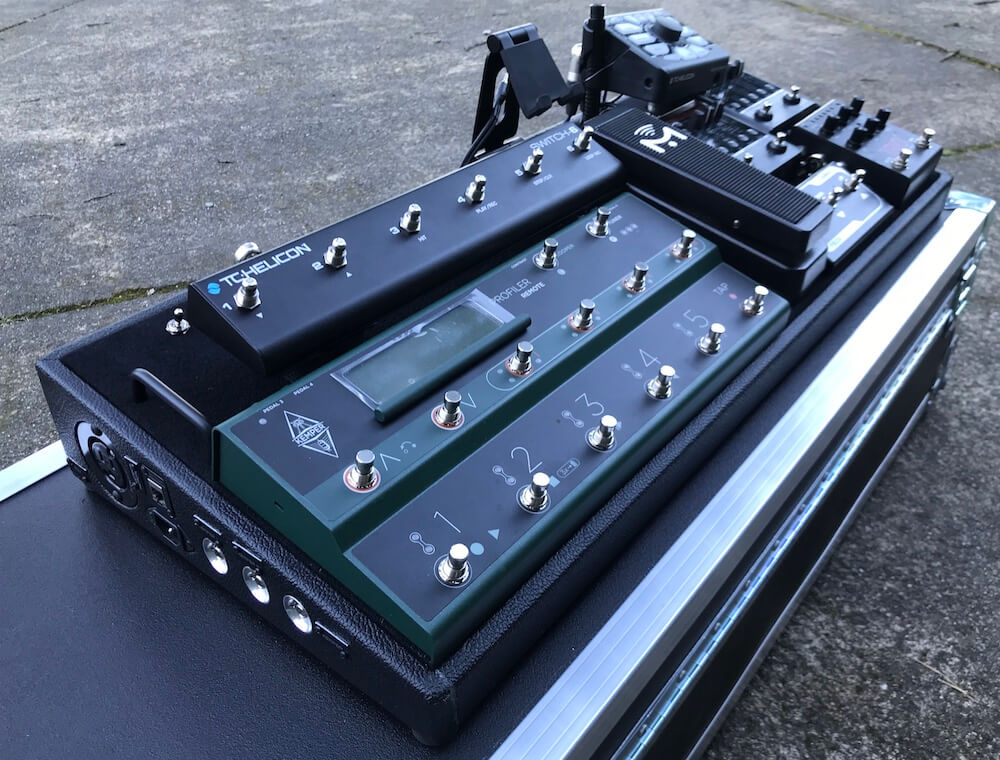
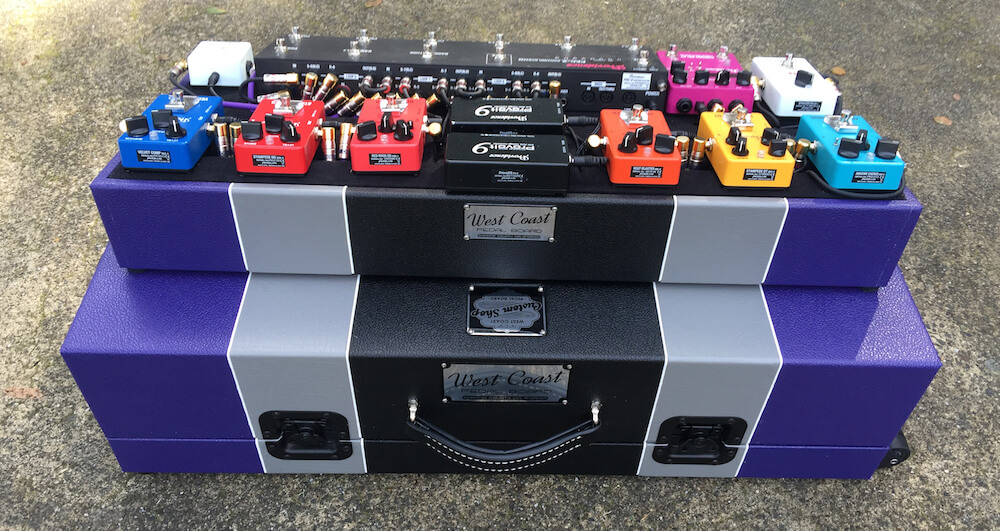
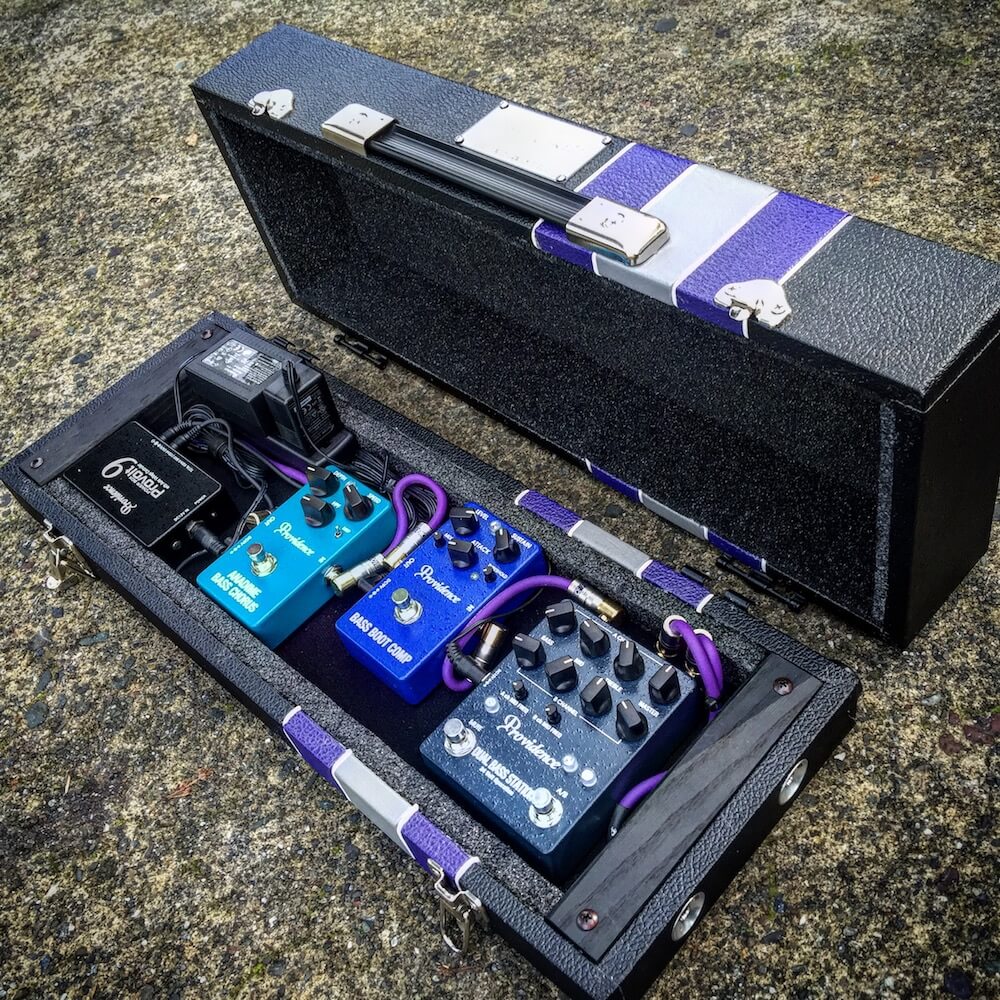
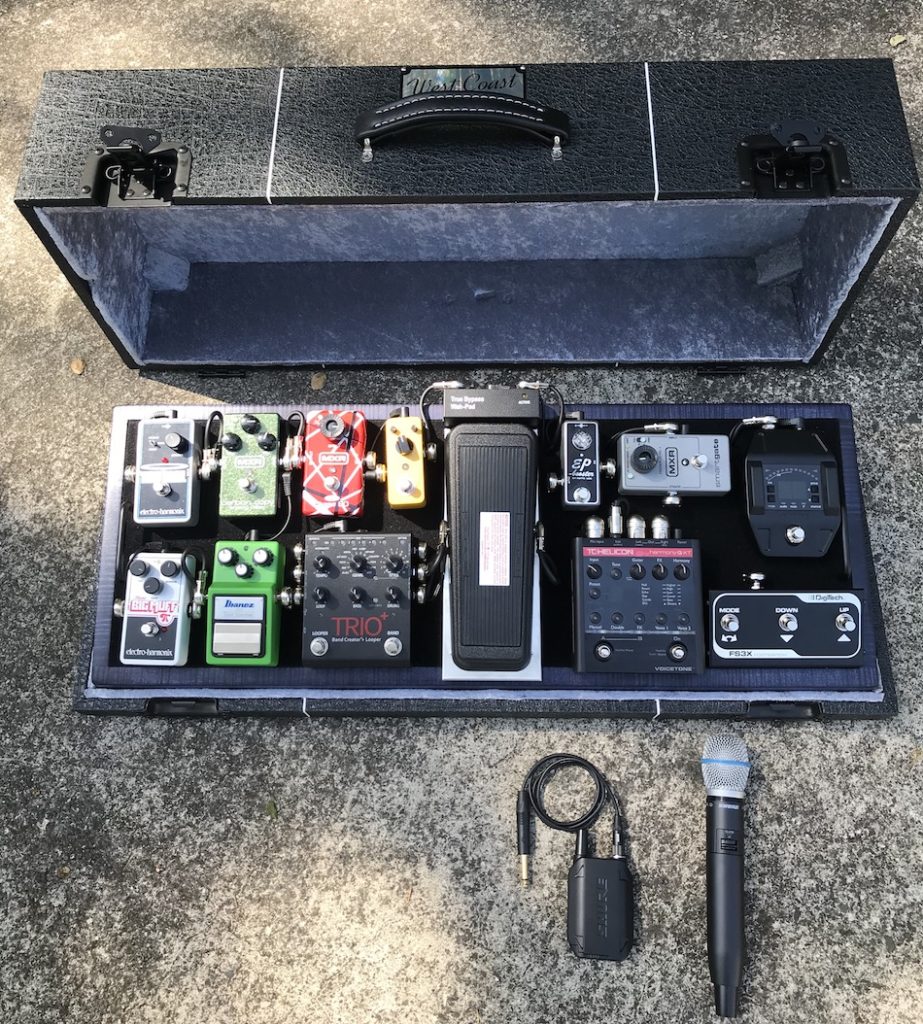
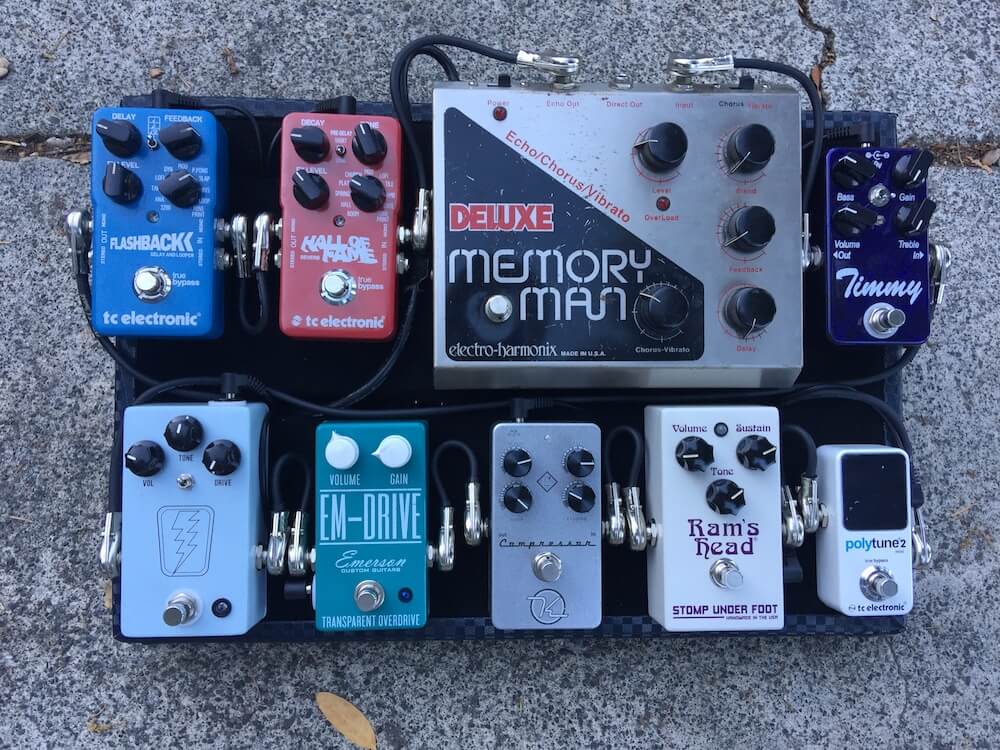
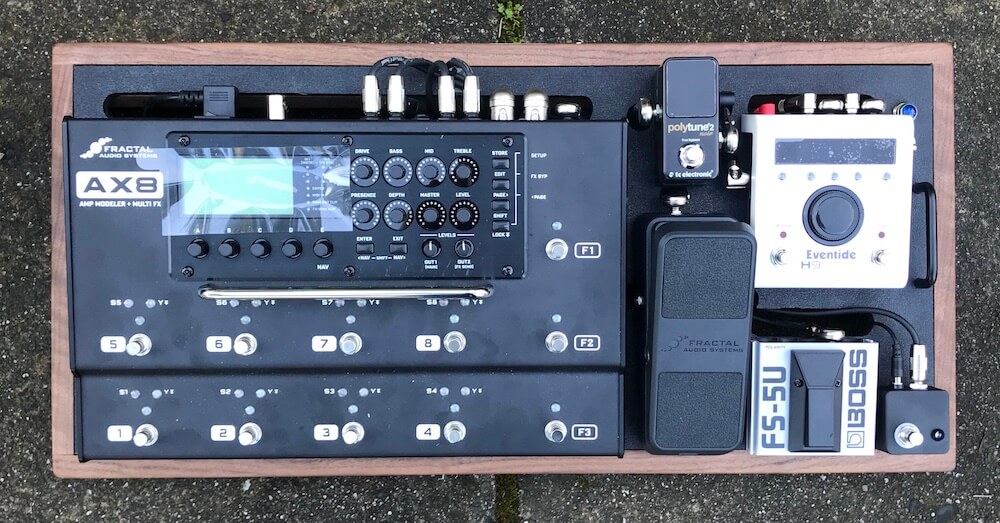
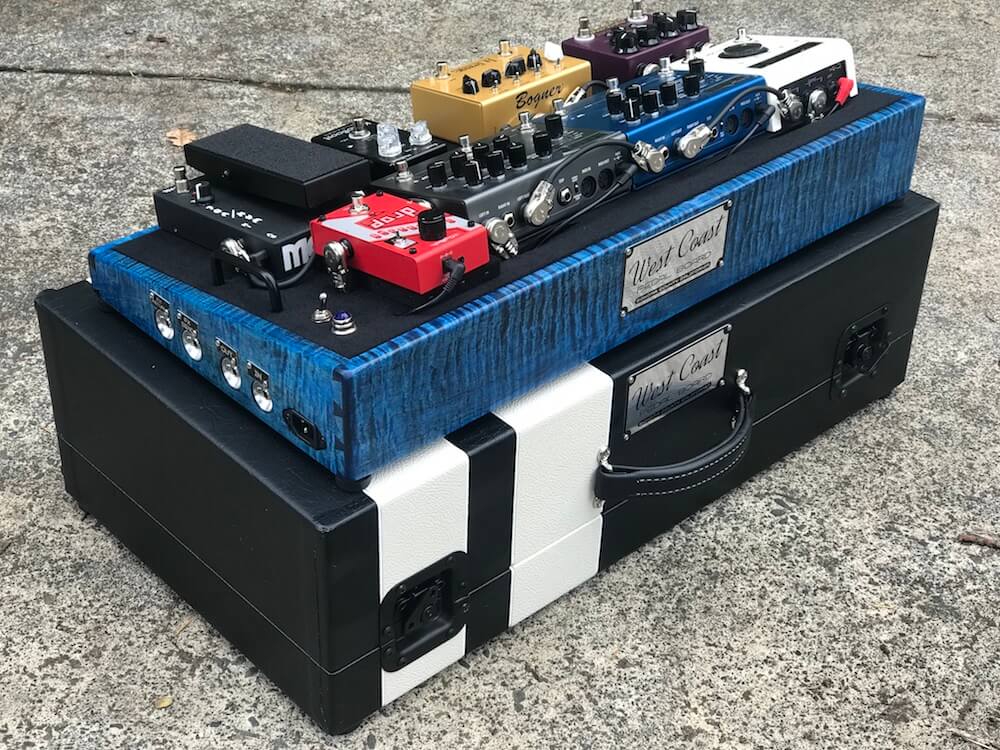
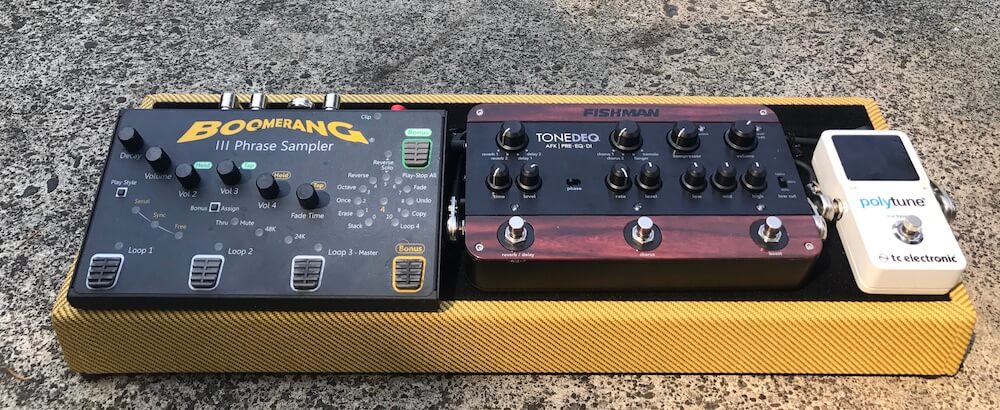
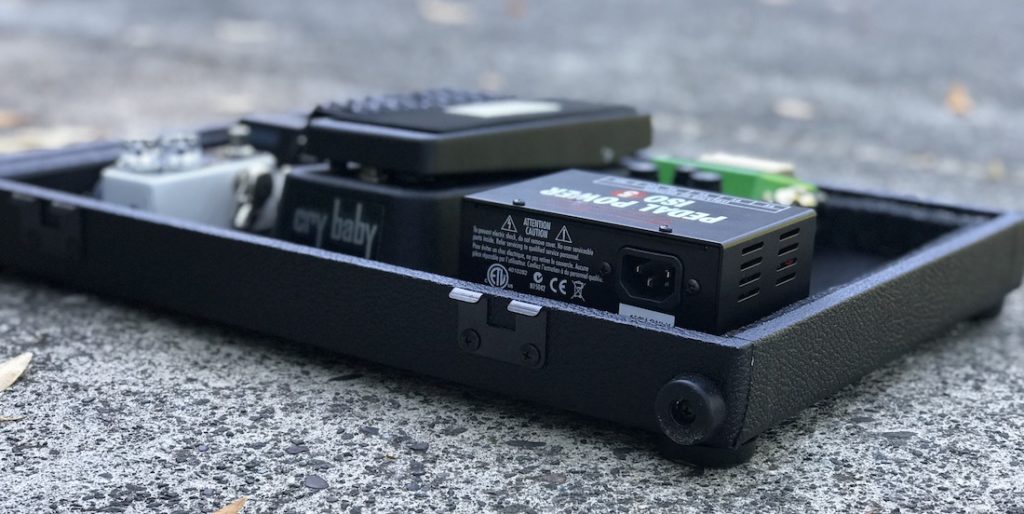
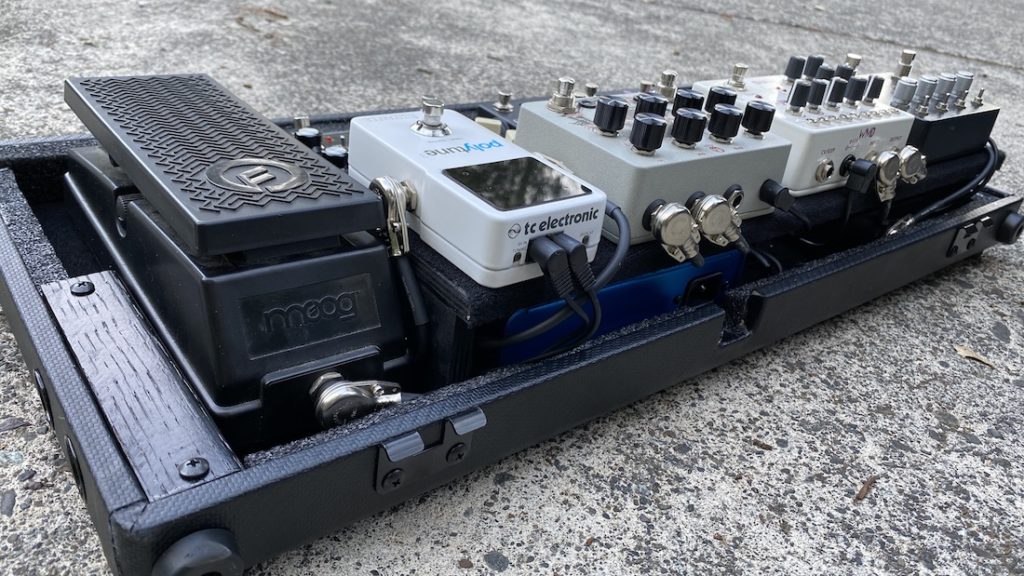
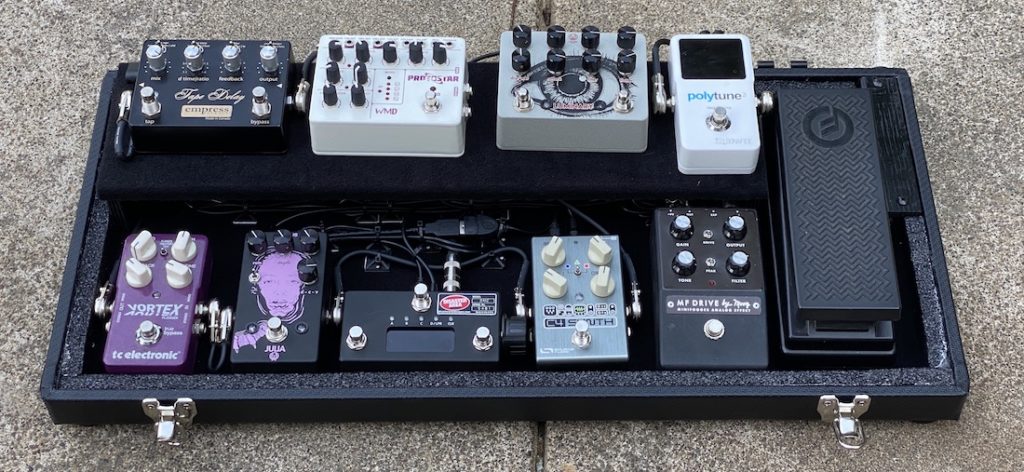
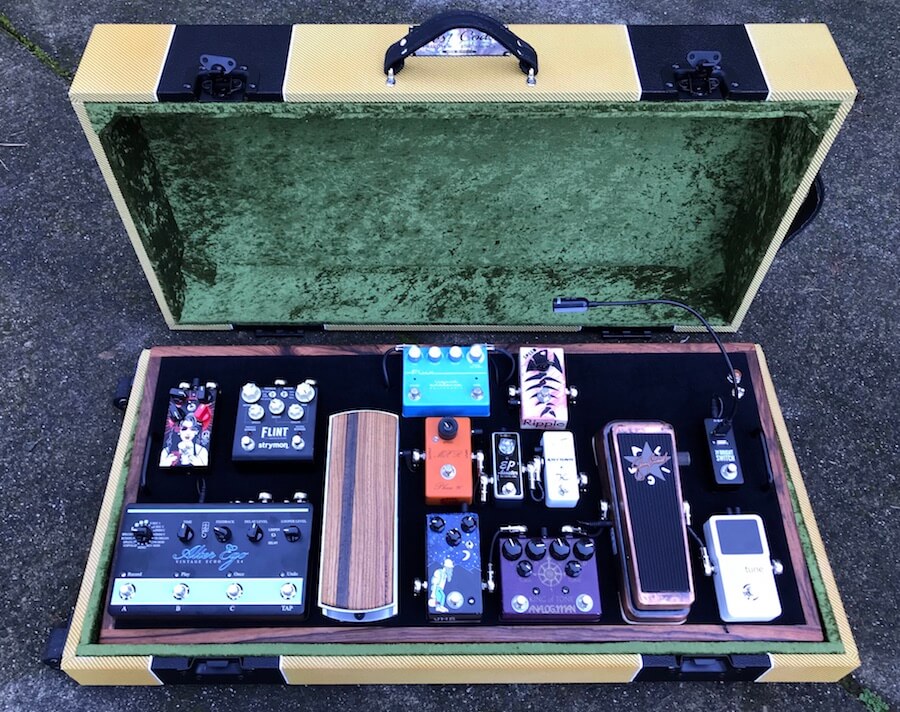
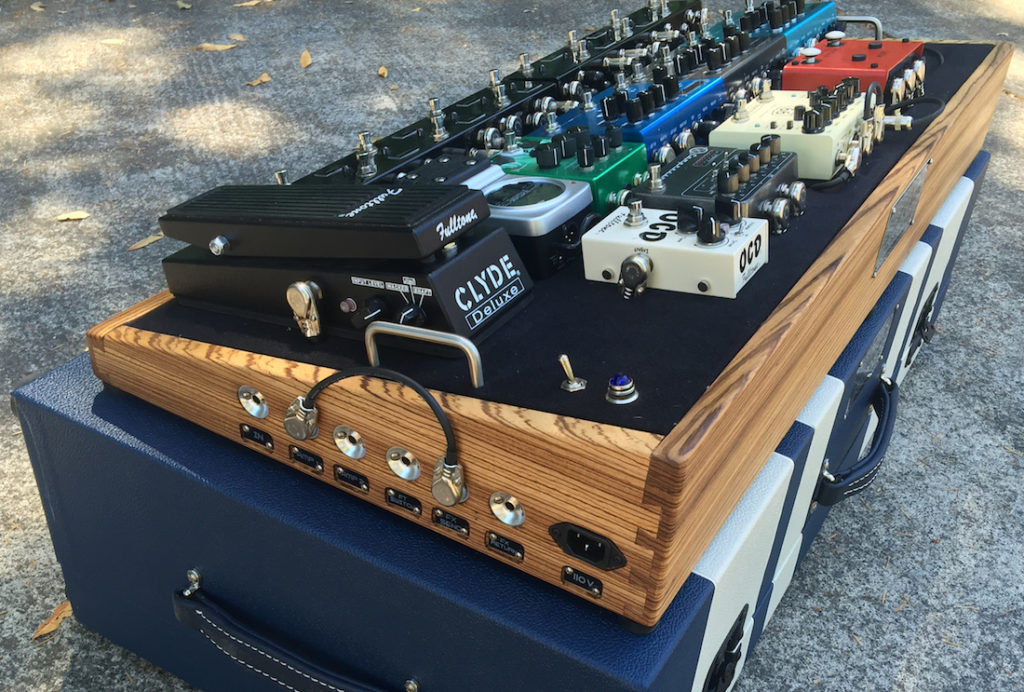
If you’re getting a switcher and plan to wire it with quality cable & soldered plugs, this is your definitive guide. Parts, processes and soldering videos show you How-To get PROFESSIONAL results the first time. We list out the most commonly used switchers along with plug/cable types & compatible parts that we use on pedalboard setup jobs on a daily basis. Picture gallery at the bottom…
MATERIALS REQUIRED:
- Pedalboard
- Appropriate Plugs and Cable for the rig build based on which switcher/looper your using and the amount of pedals
- Soldering Rig, Solder & Tools, Cable Tester: FOR DETAILED SOLDERING INFO
- Optional Fixture or Jig to hold plugs and/or wire to quicken assembly
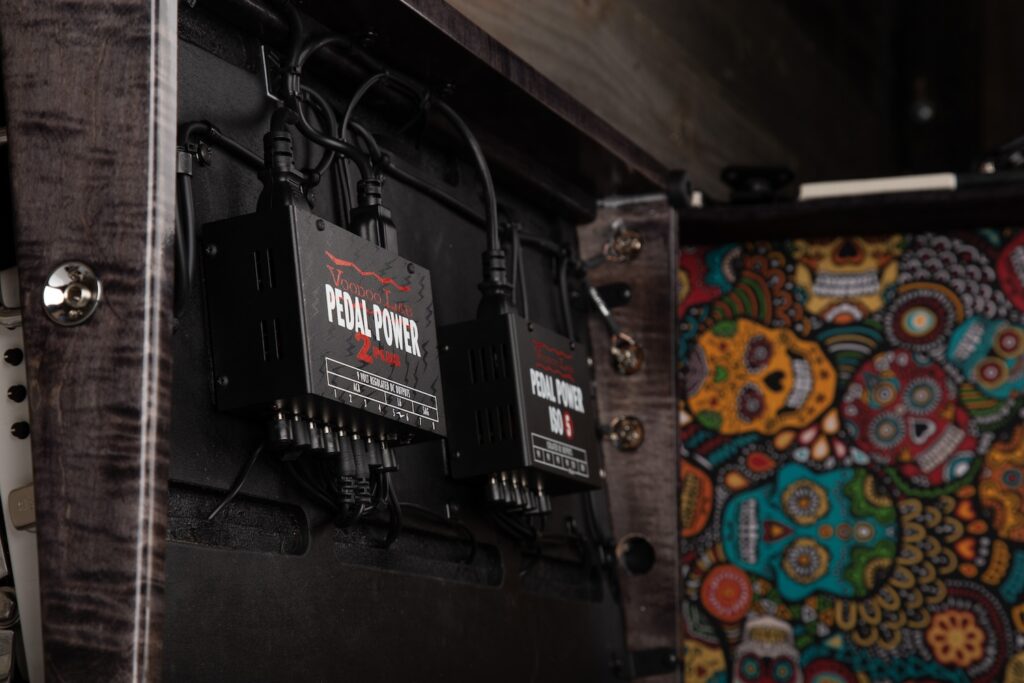
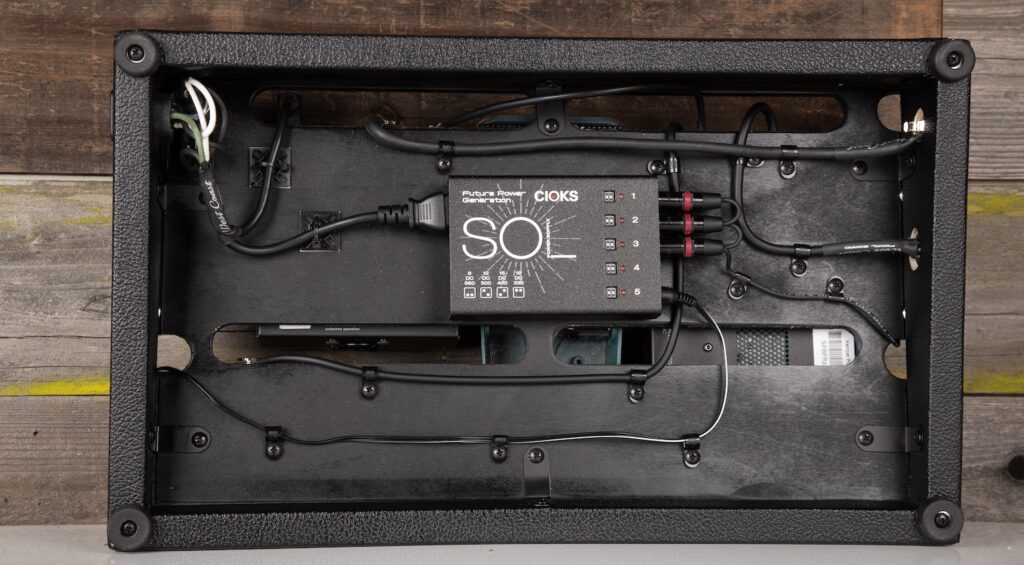
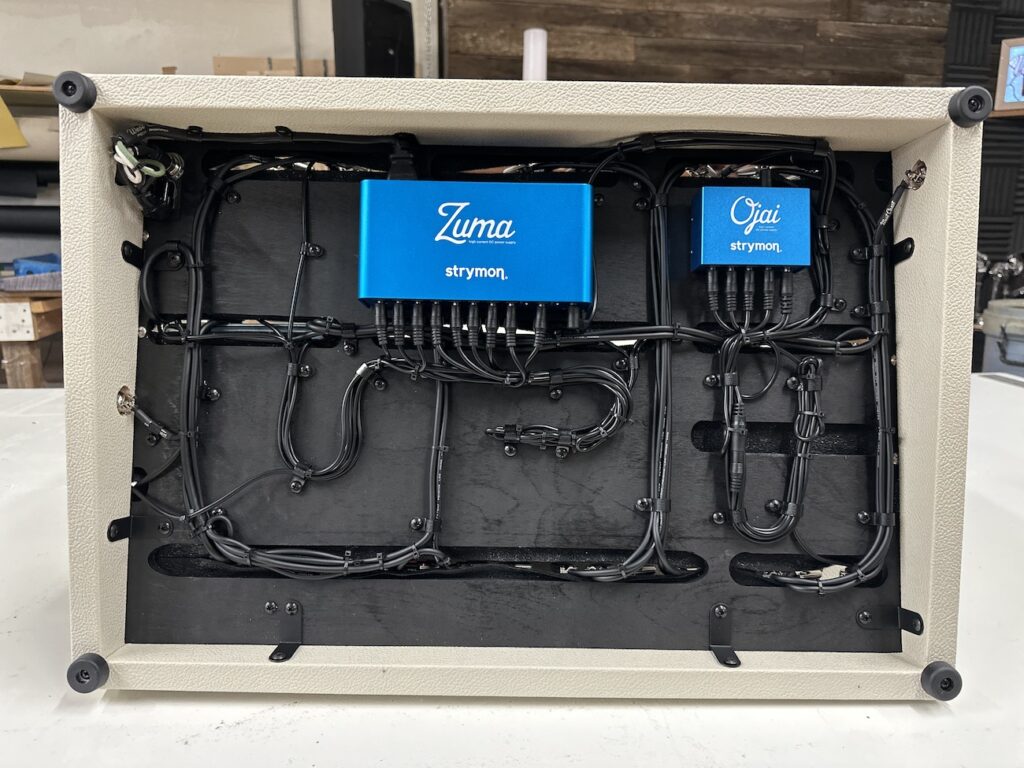
- Power Supplies – NEED HELP CHOOSING POWER SUPPLY
INTRO:
We get tons of pedalboard switcher wiring questions and requests for help choosing the correct wiring parts for switcher/looper & signal routing gear. This guide is meant to assist you to calculate the parts you need to finish the job professionally!
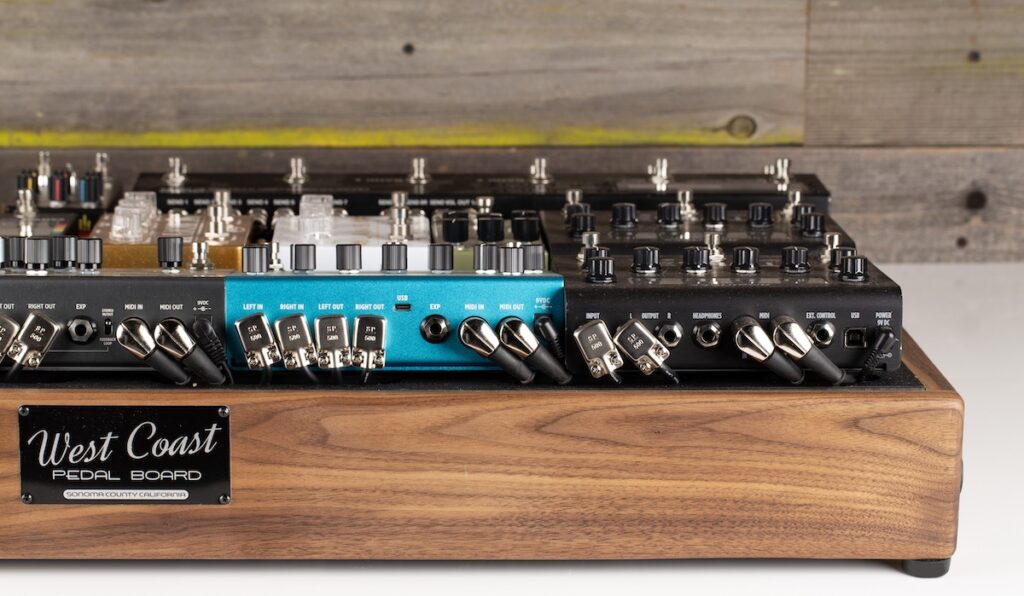
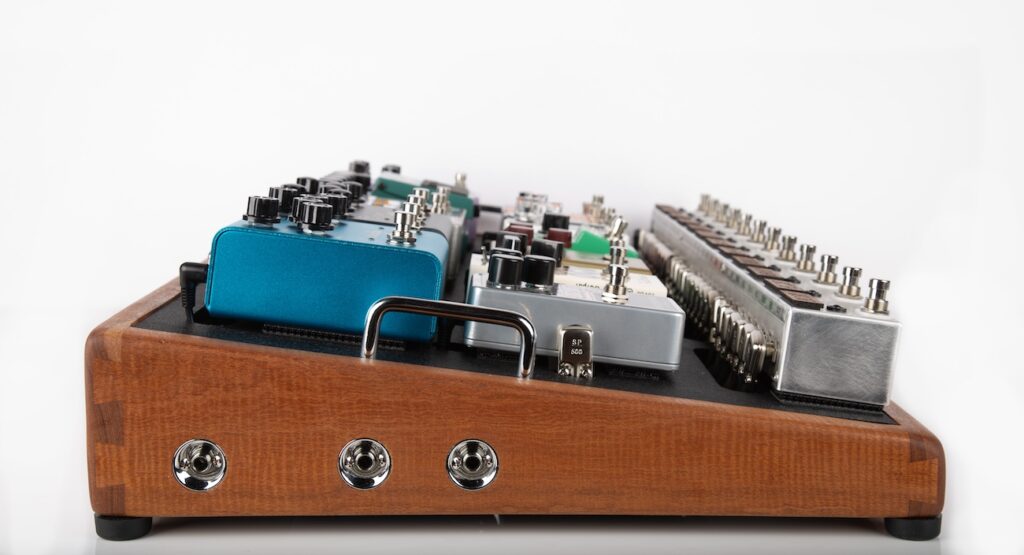
There are 2 types of plug orientations: Right Angled and Straight. Some plugs are wider, longer, or fatter then others. It’s important to be aware of the physical plug properties when choosing parts for your switcher.
There are two types of 1/4″ audio connections: TS aka: Tip/Sleeve aka Mono and then TRS aka: Tip/Ring/Sleeve or Stereo. Most audio hookups will require TS but make certain when calculation your parts requirements.
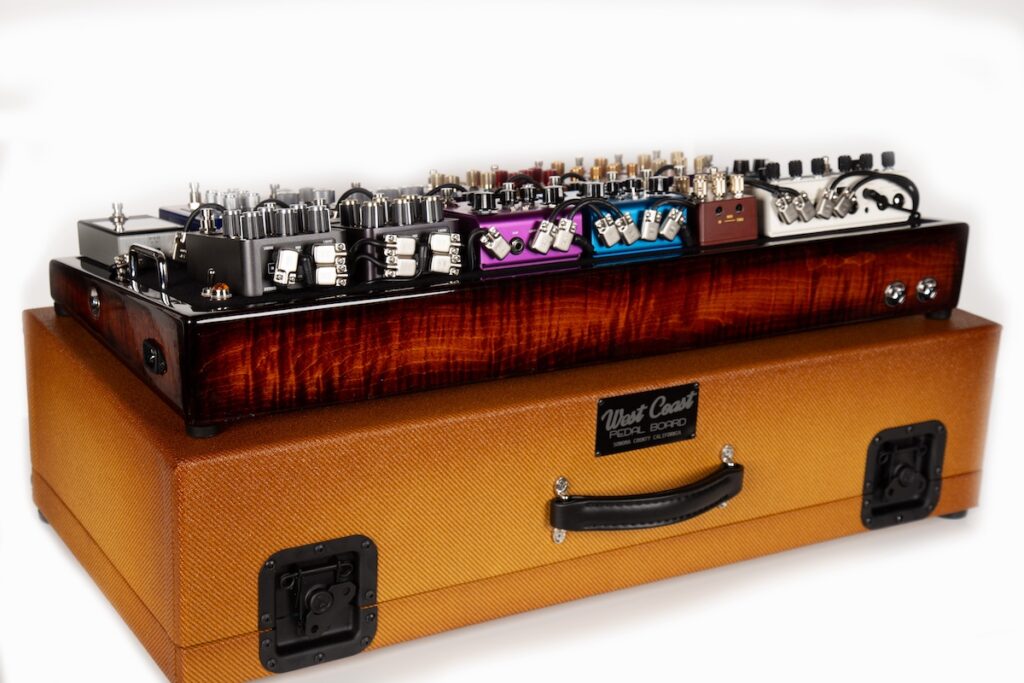
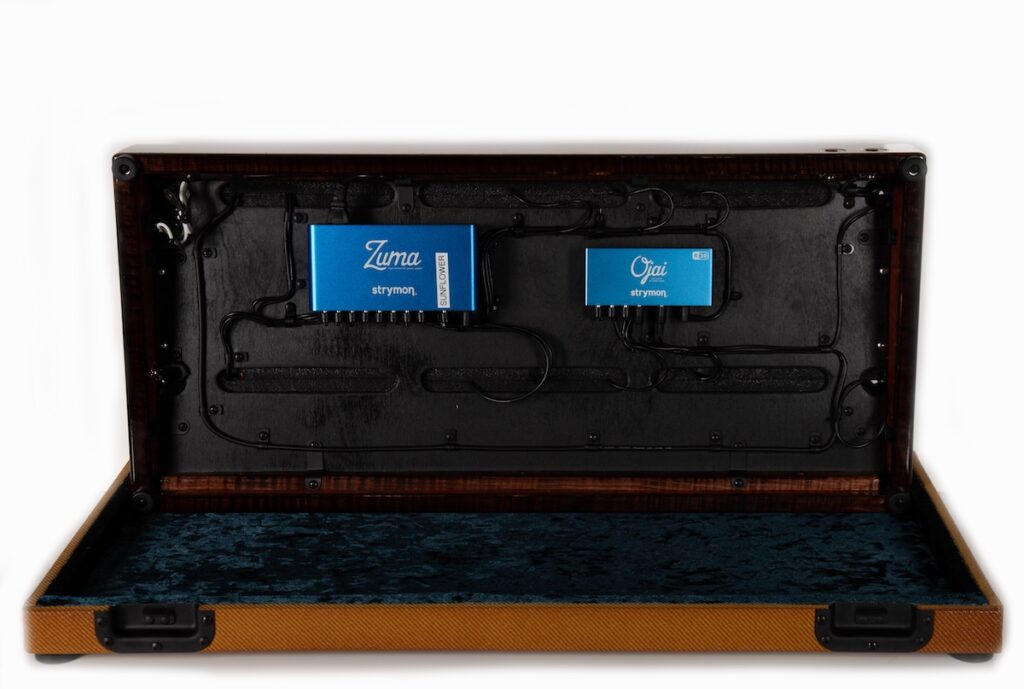
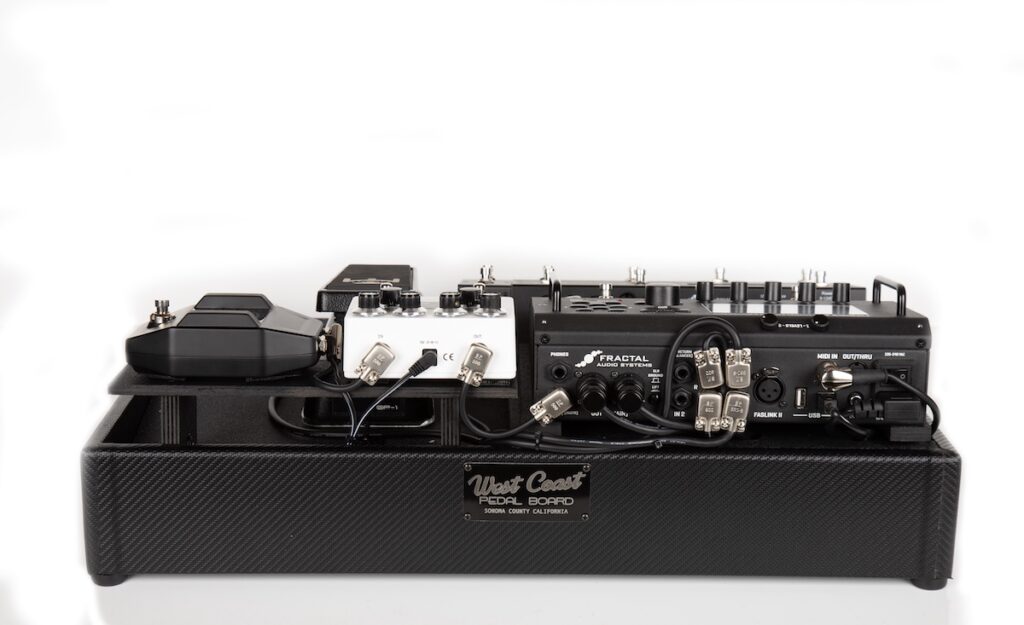
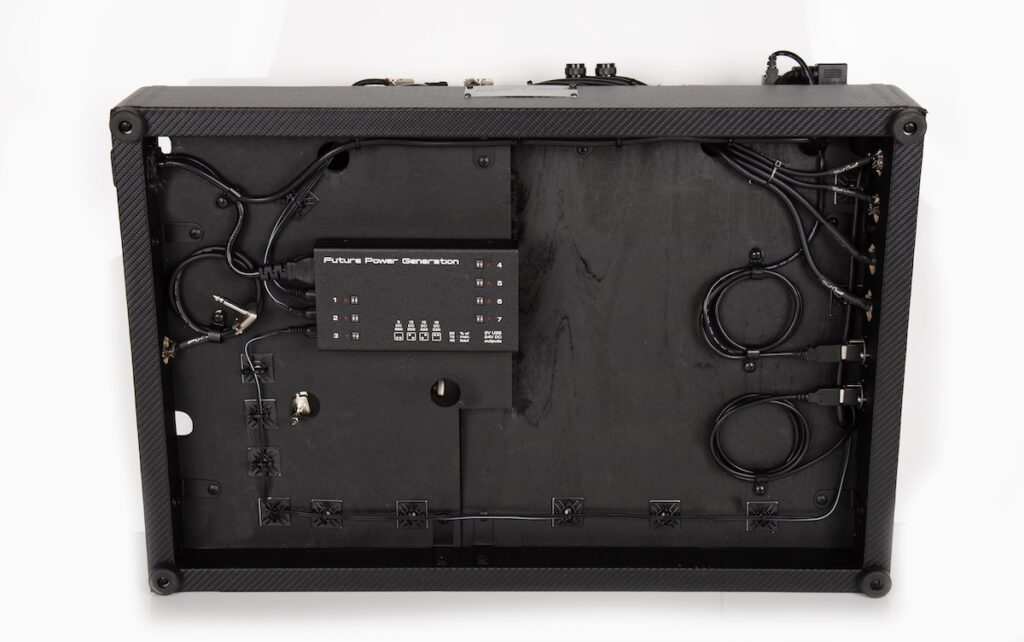
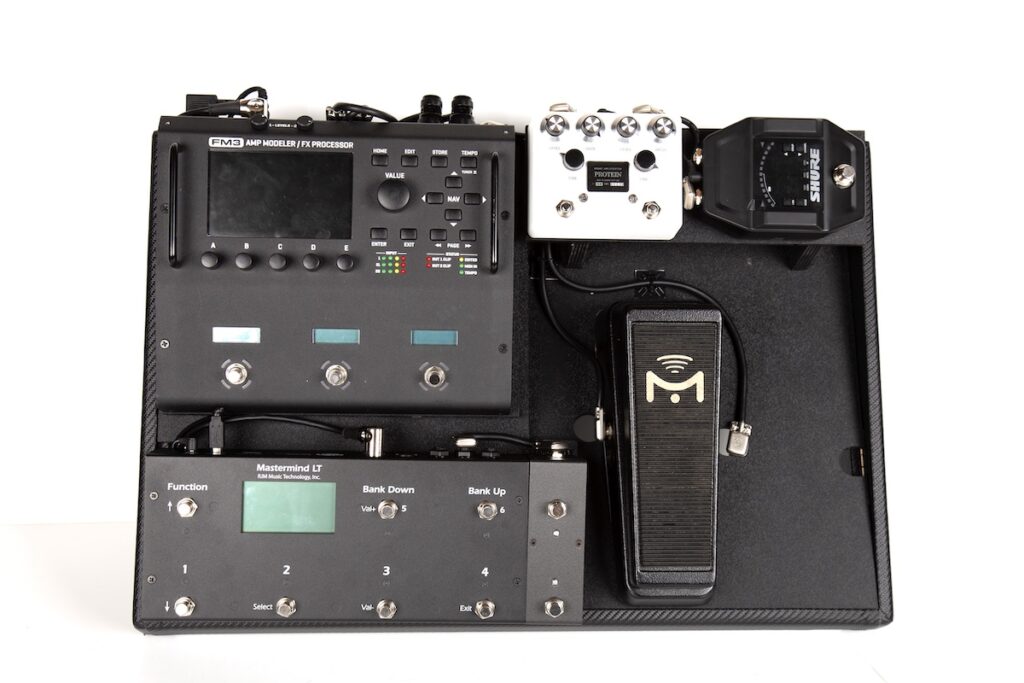
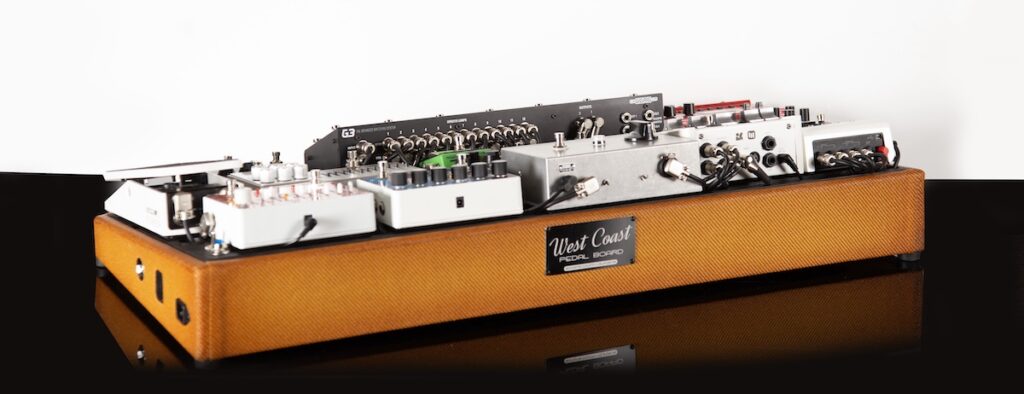
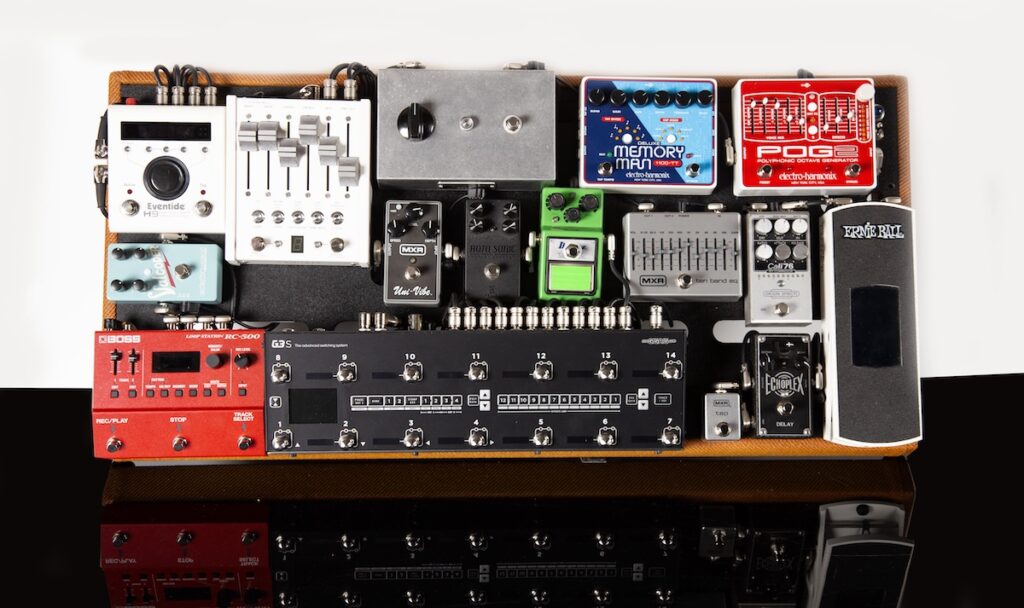
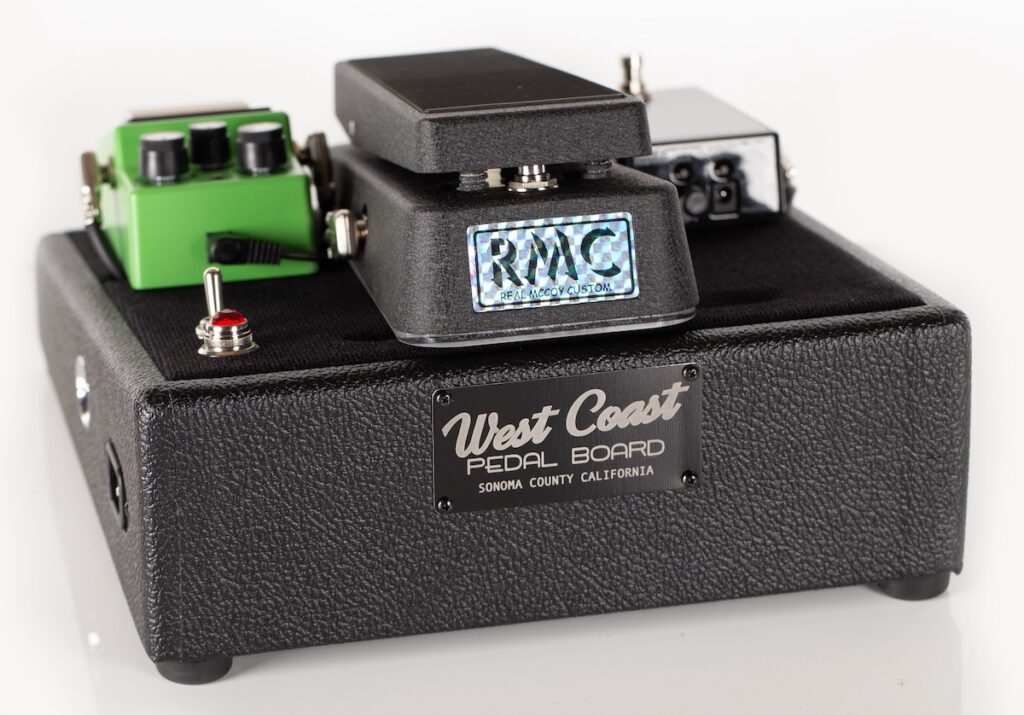
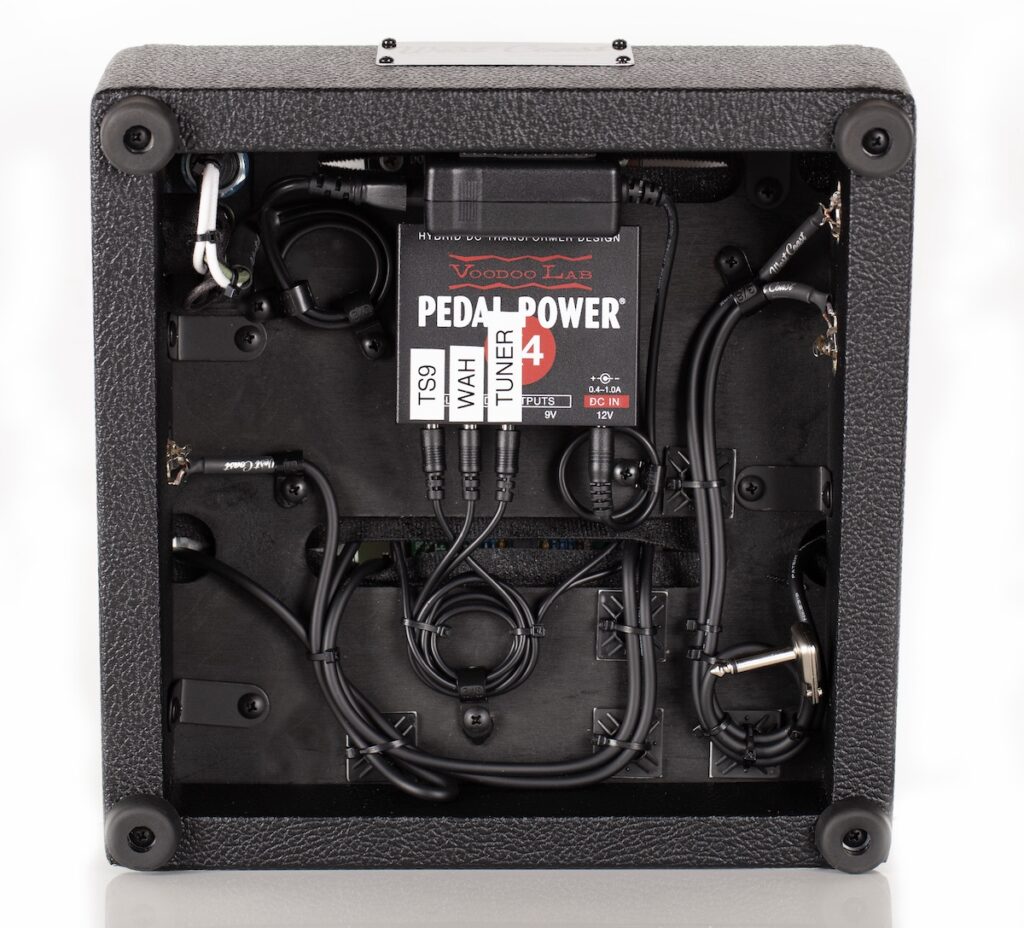
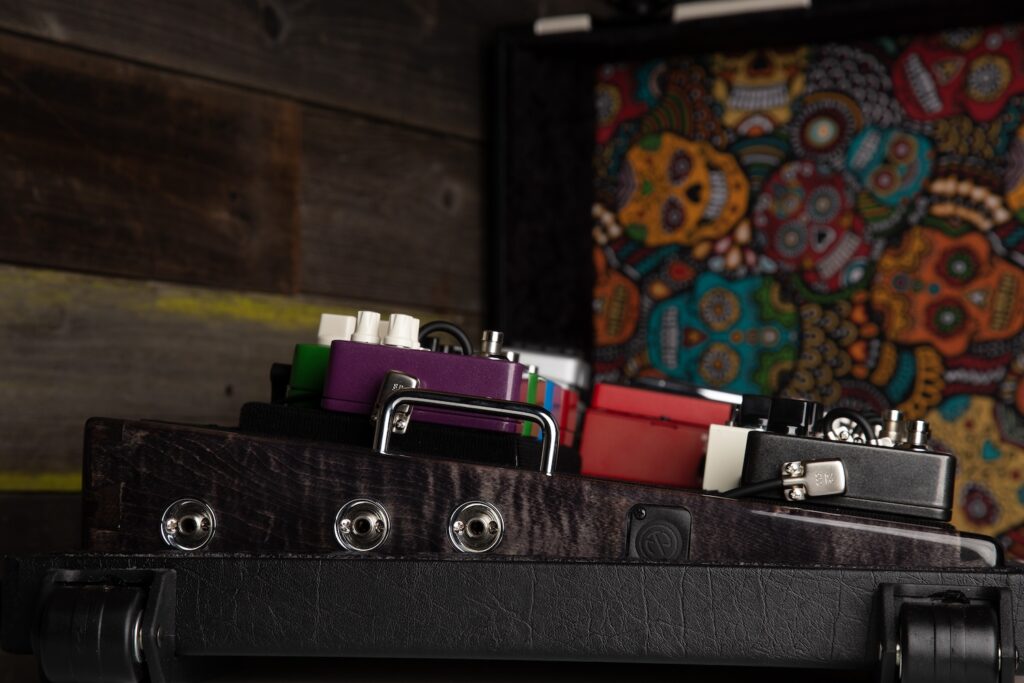
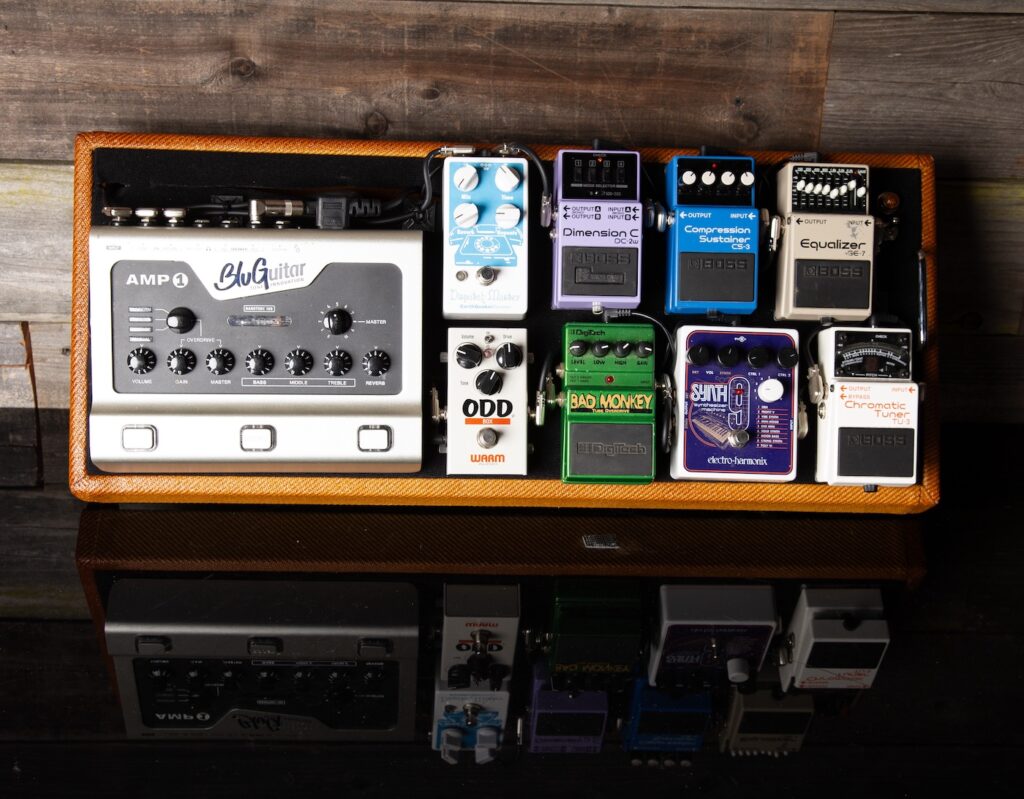
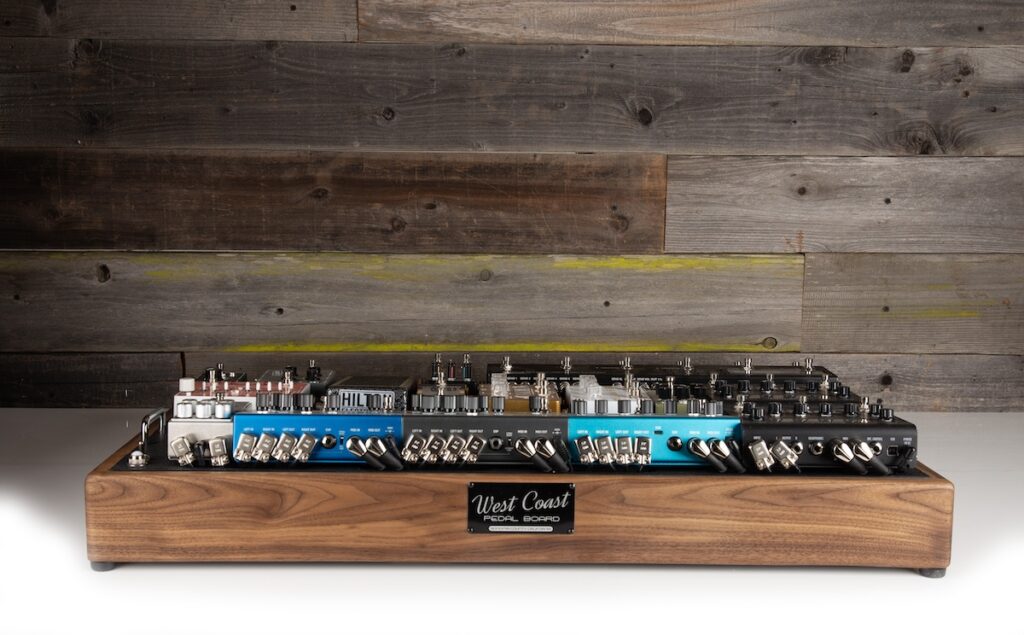
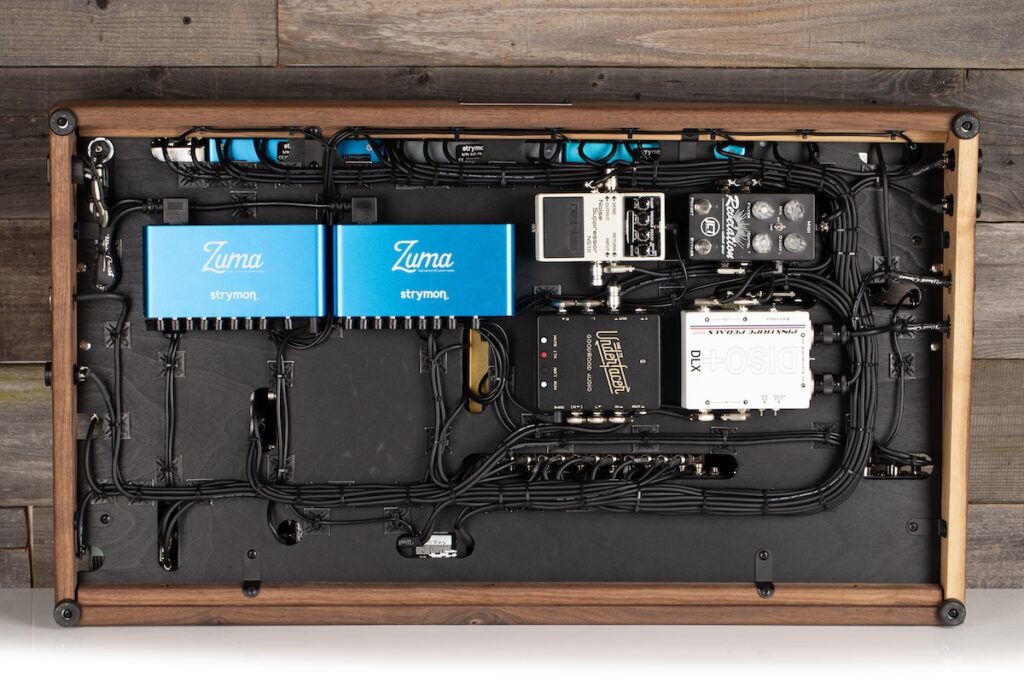
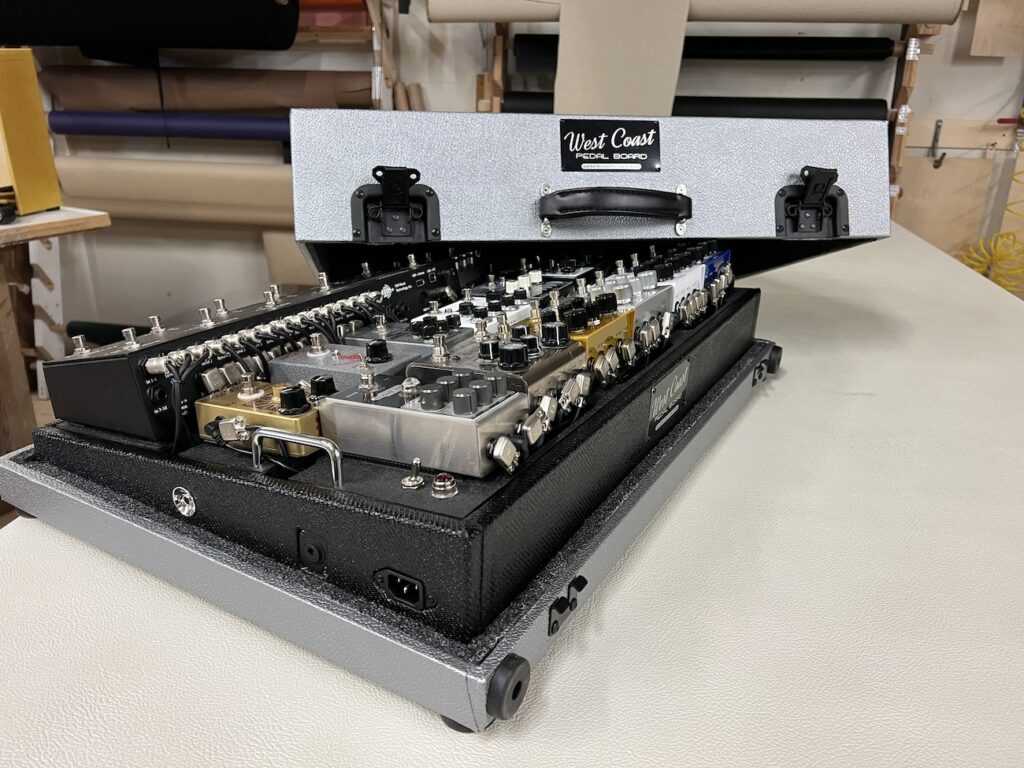
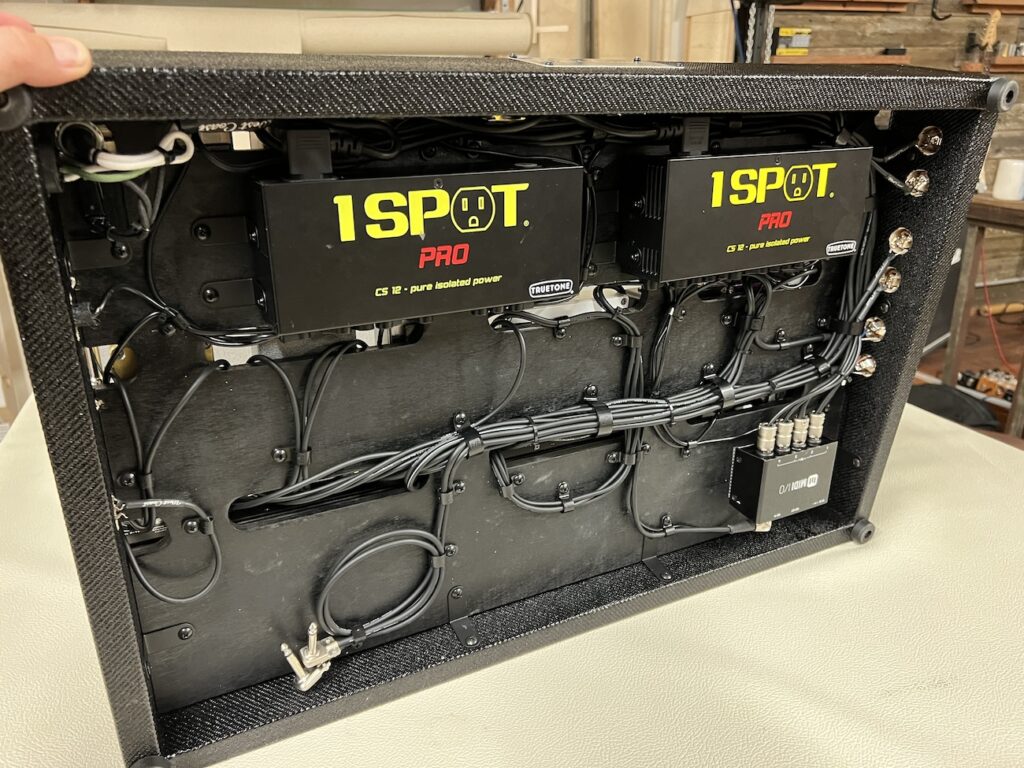
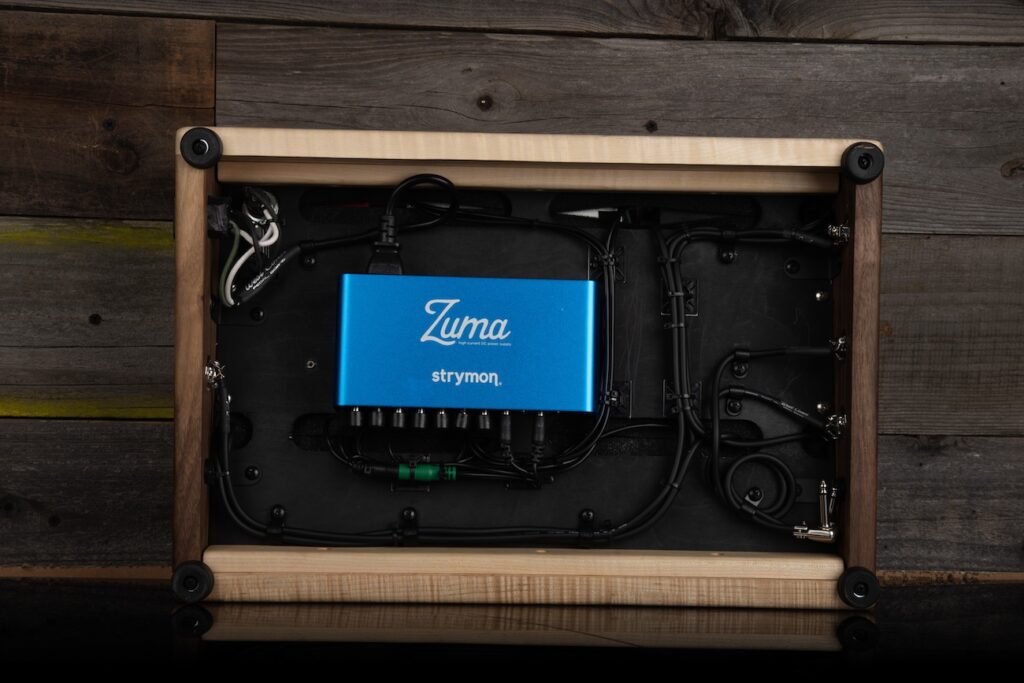
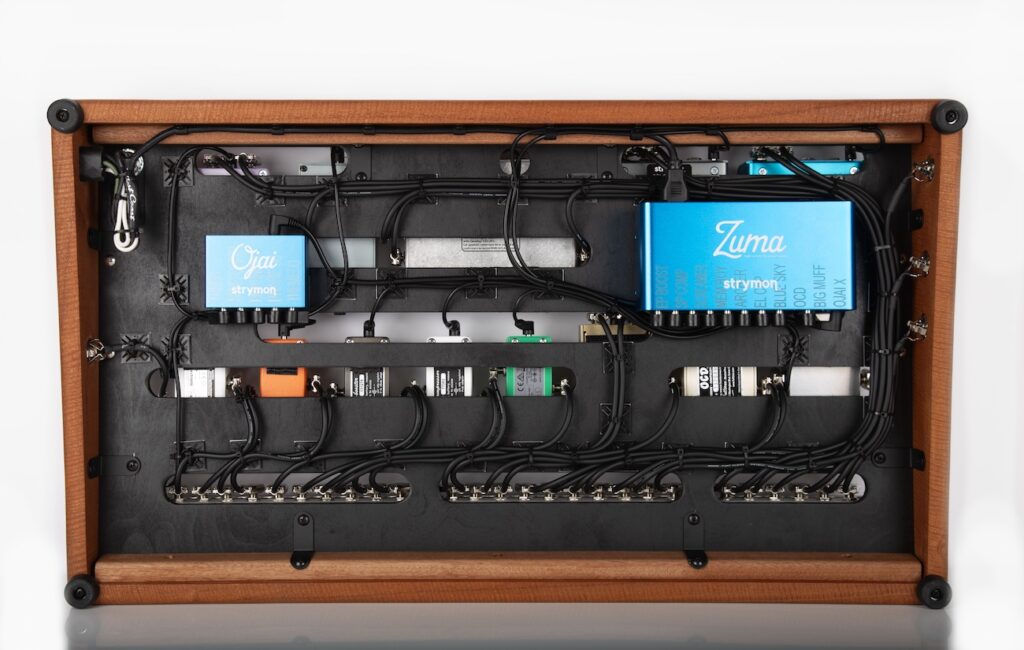
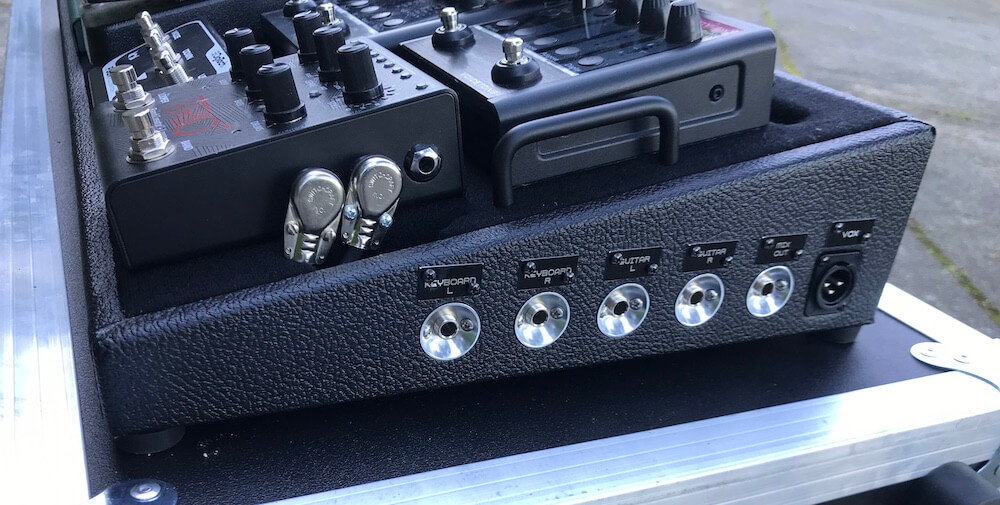
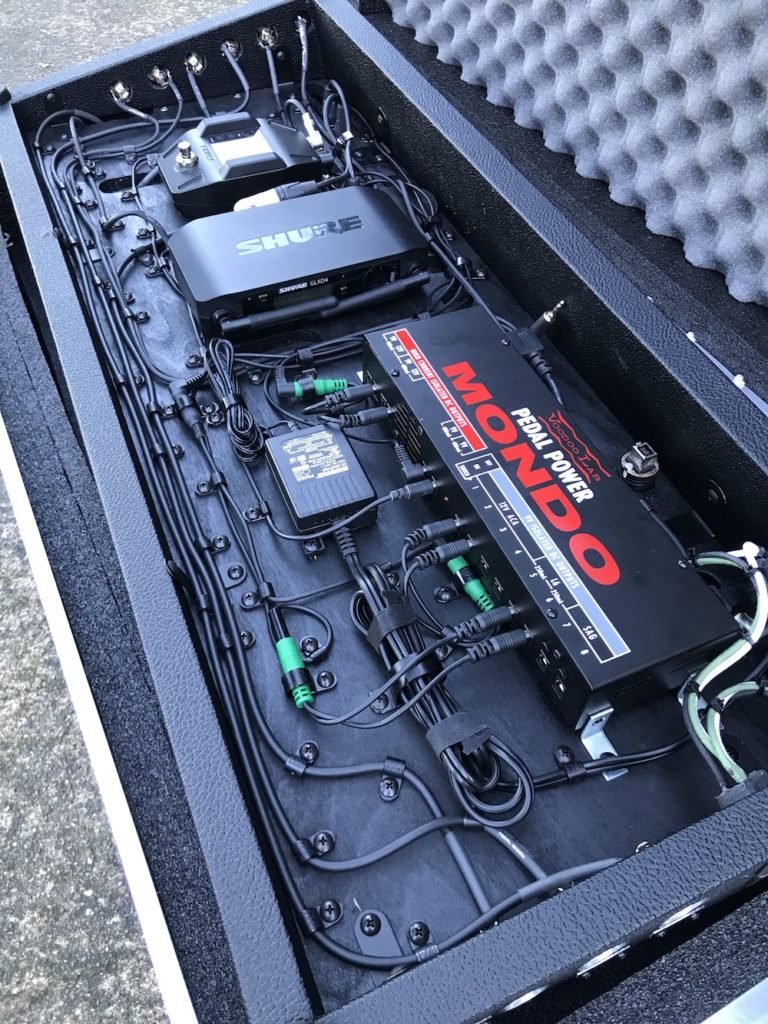
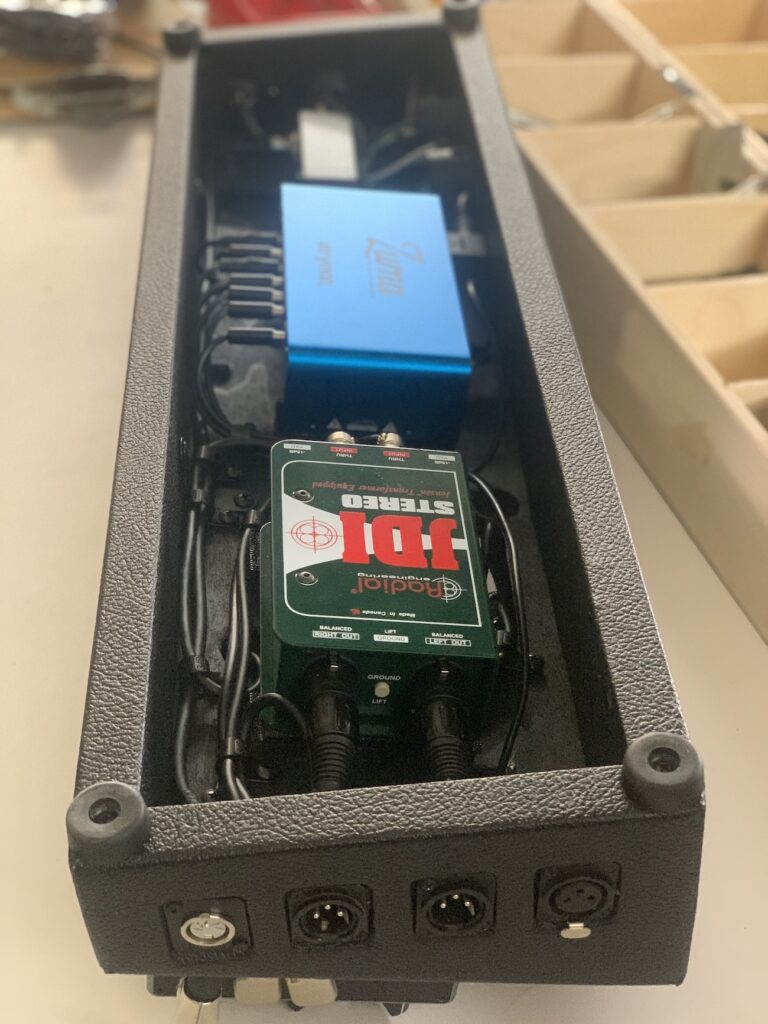
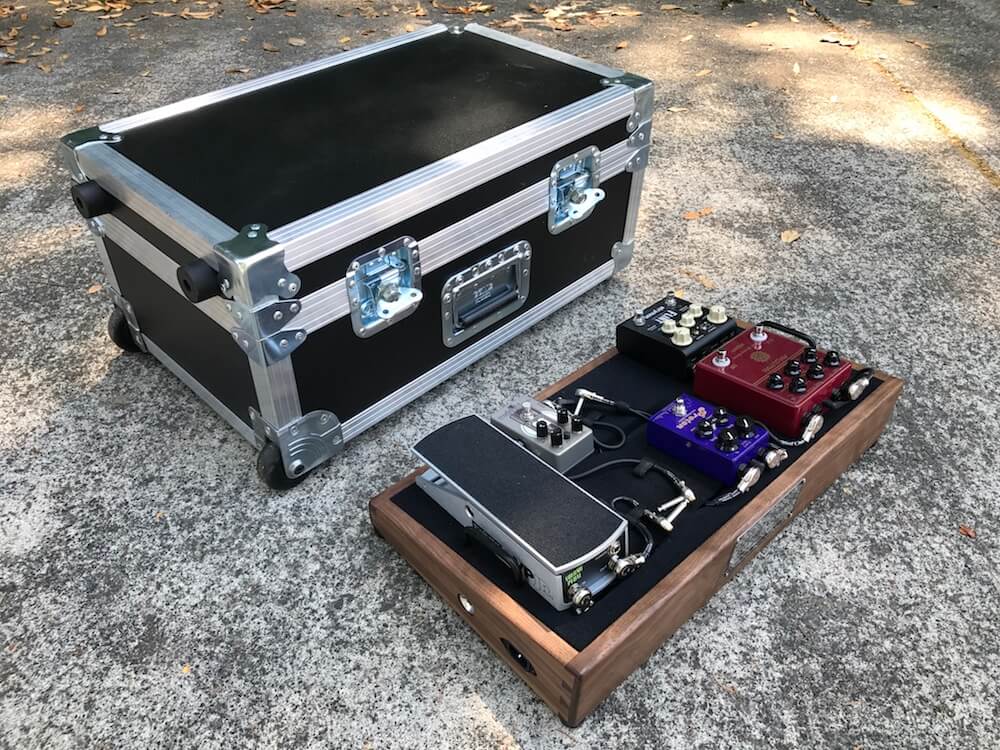
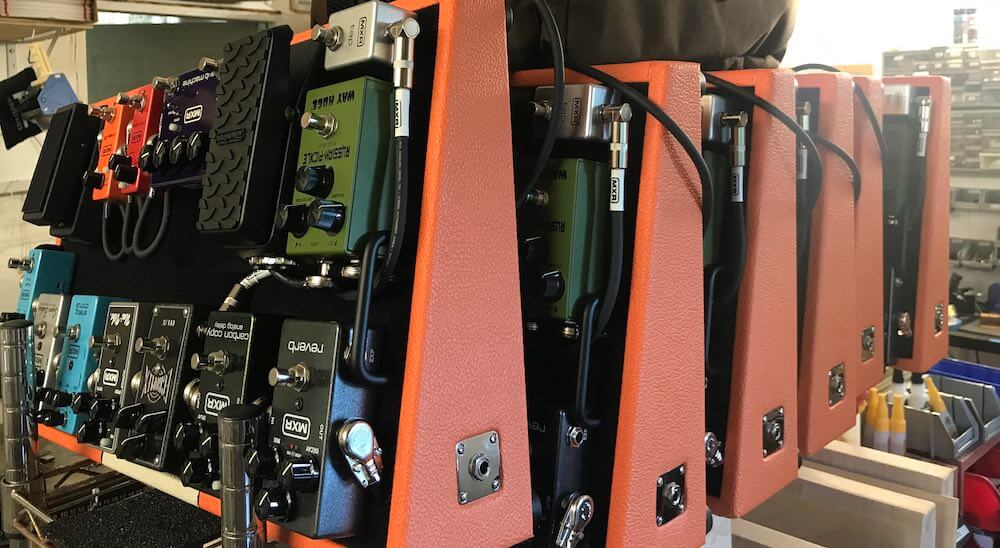
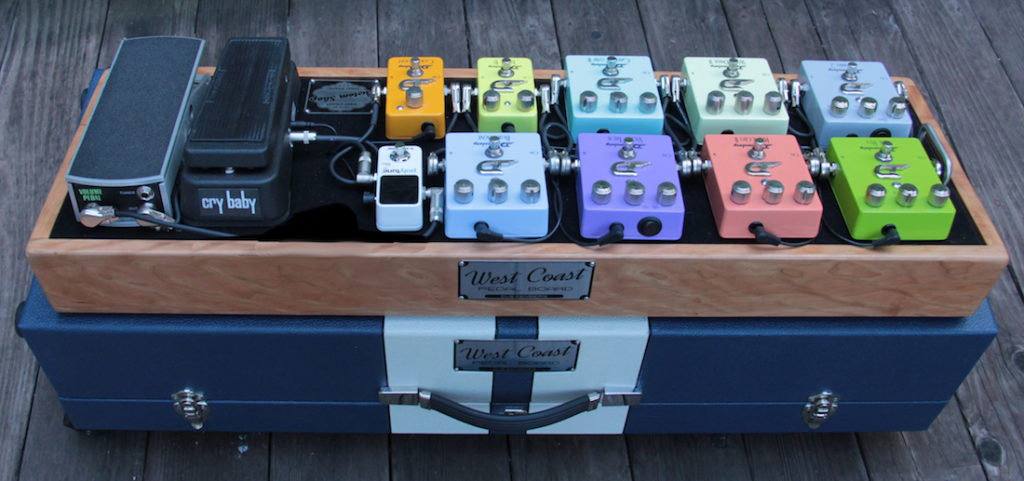
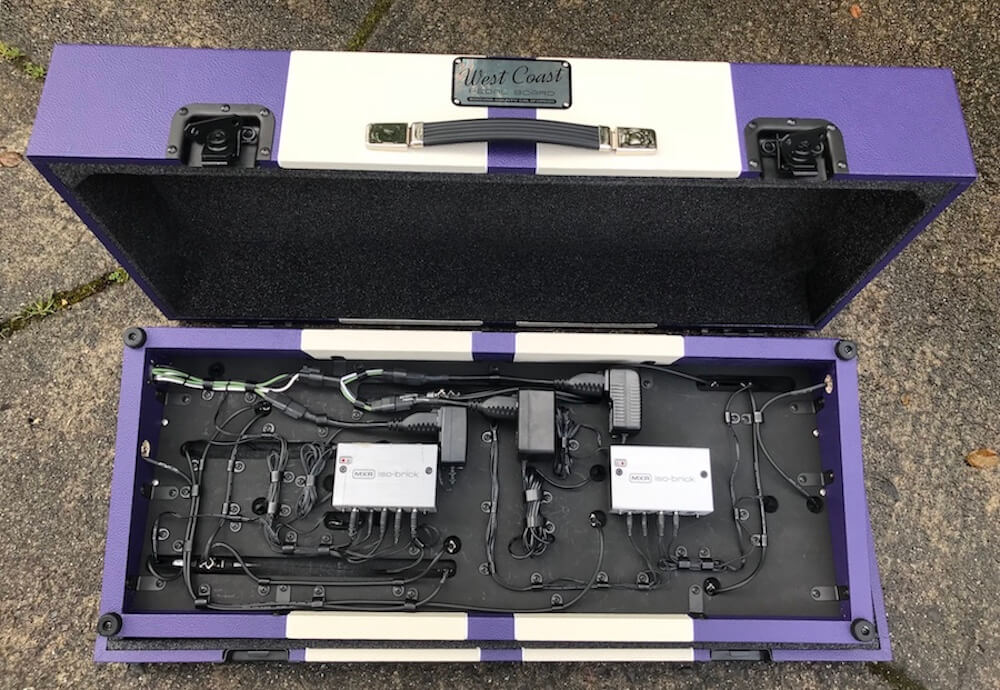
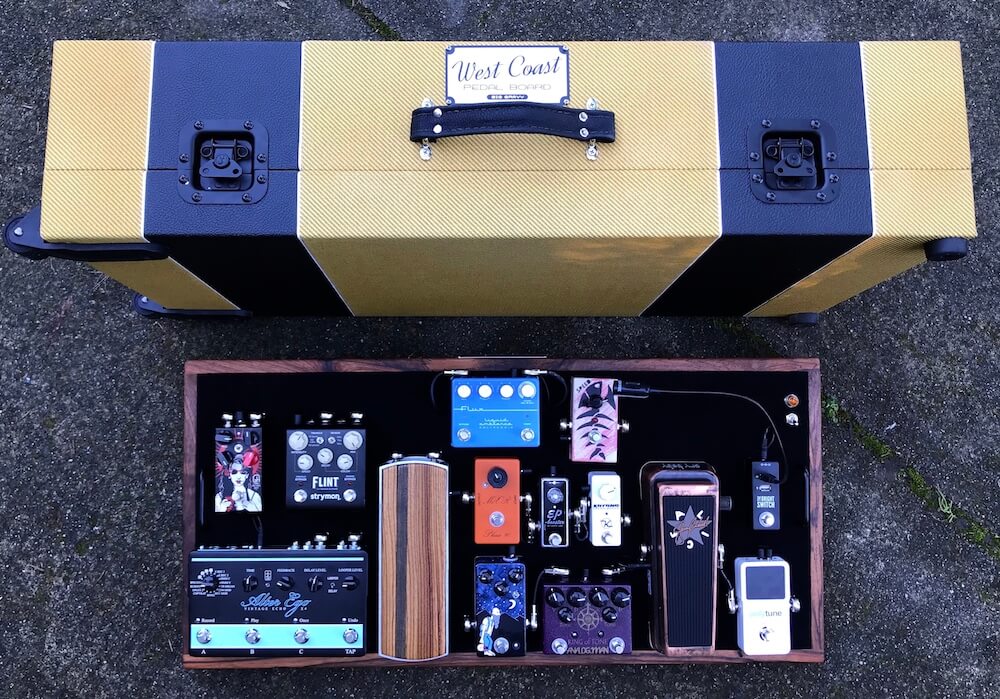
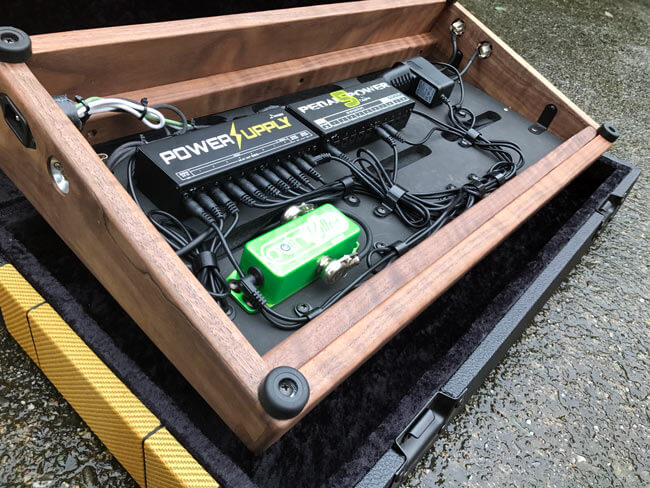
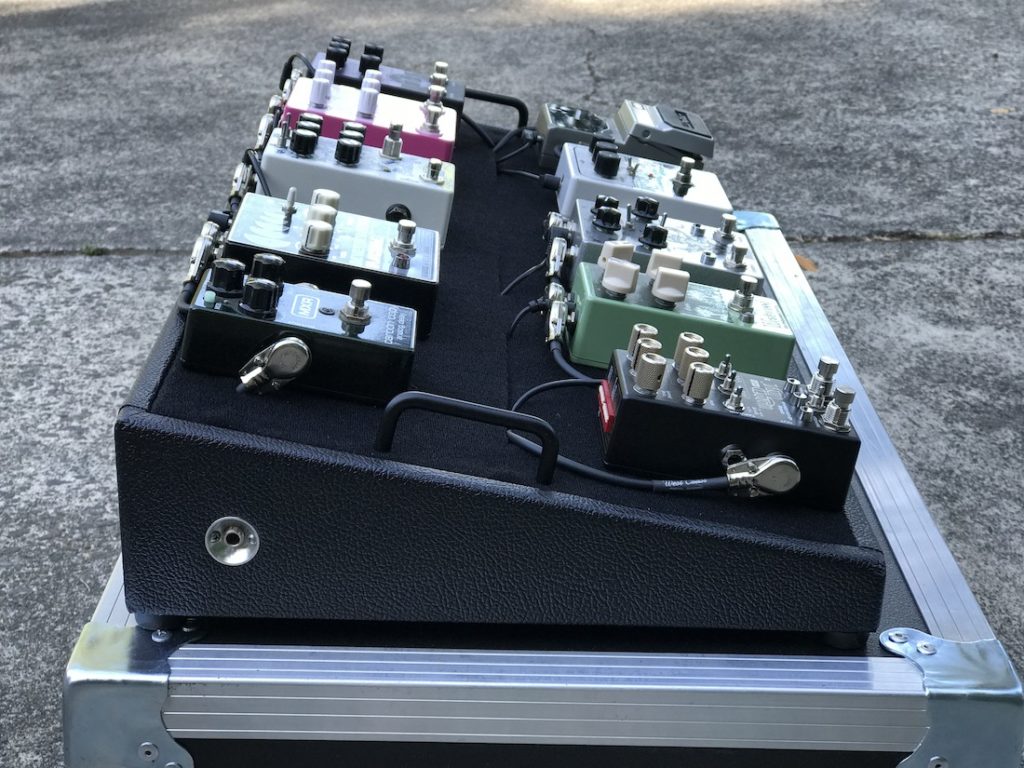
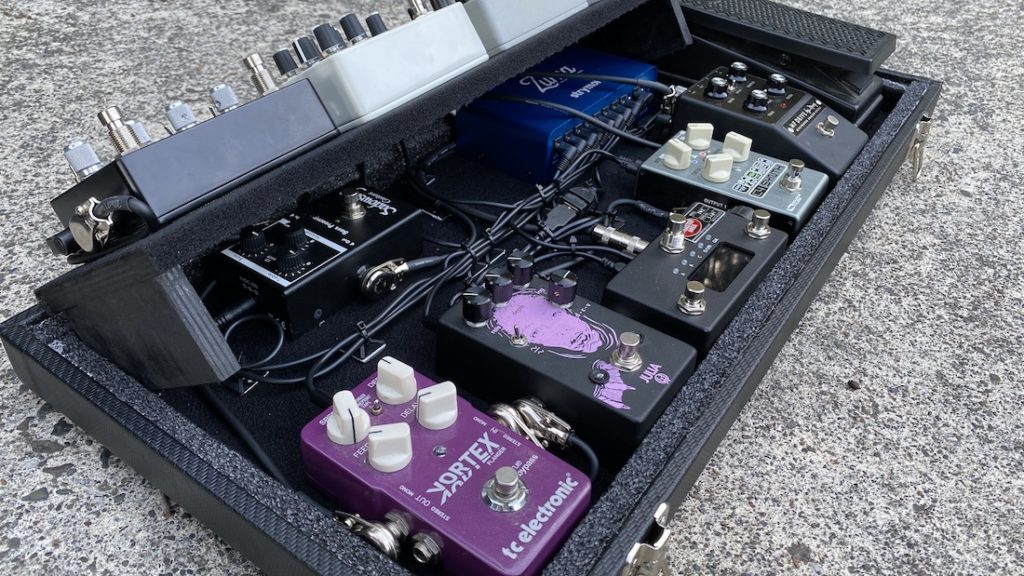
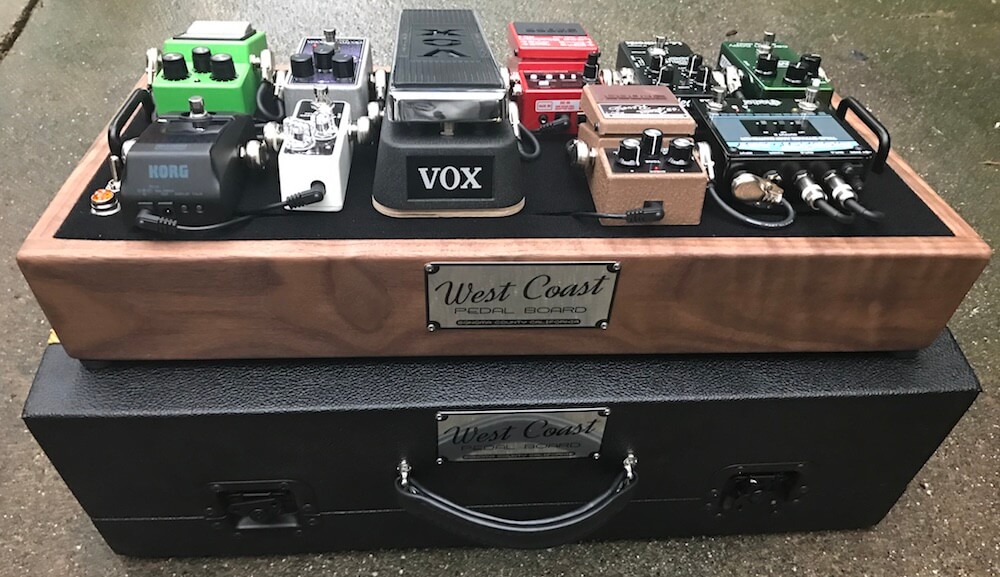
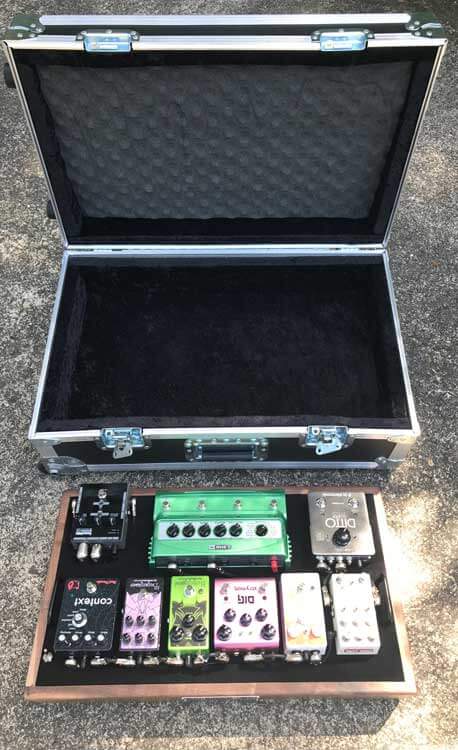
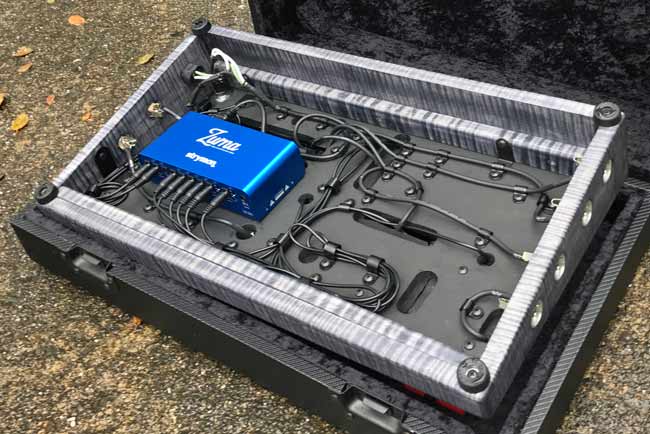
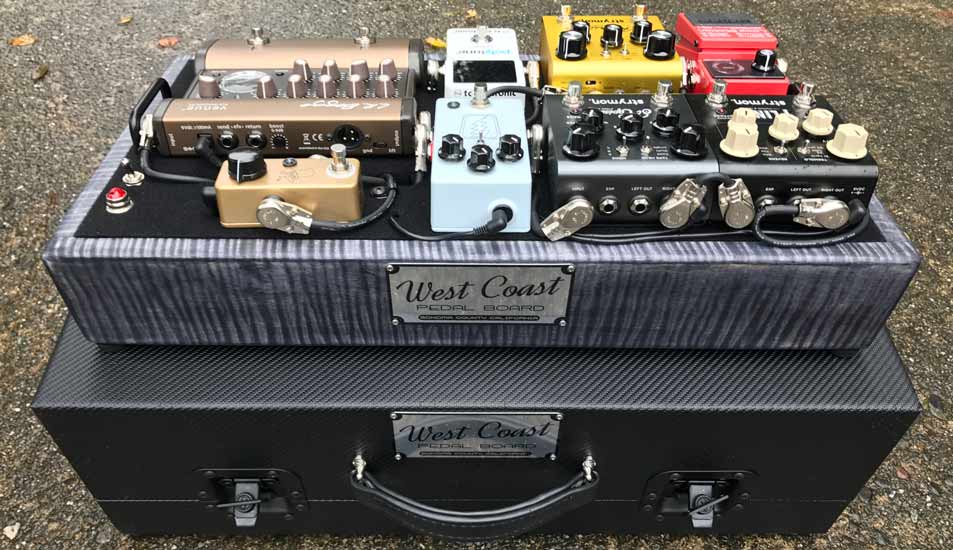
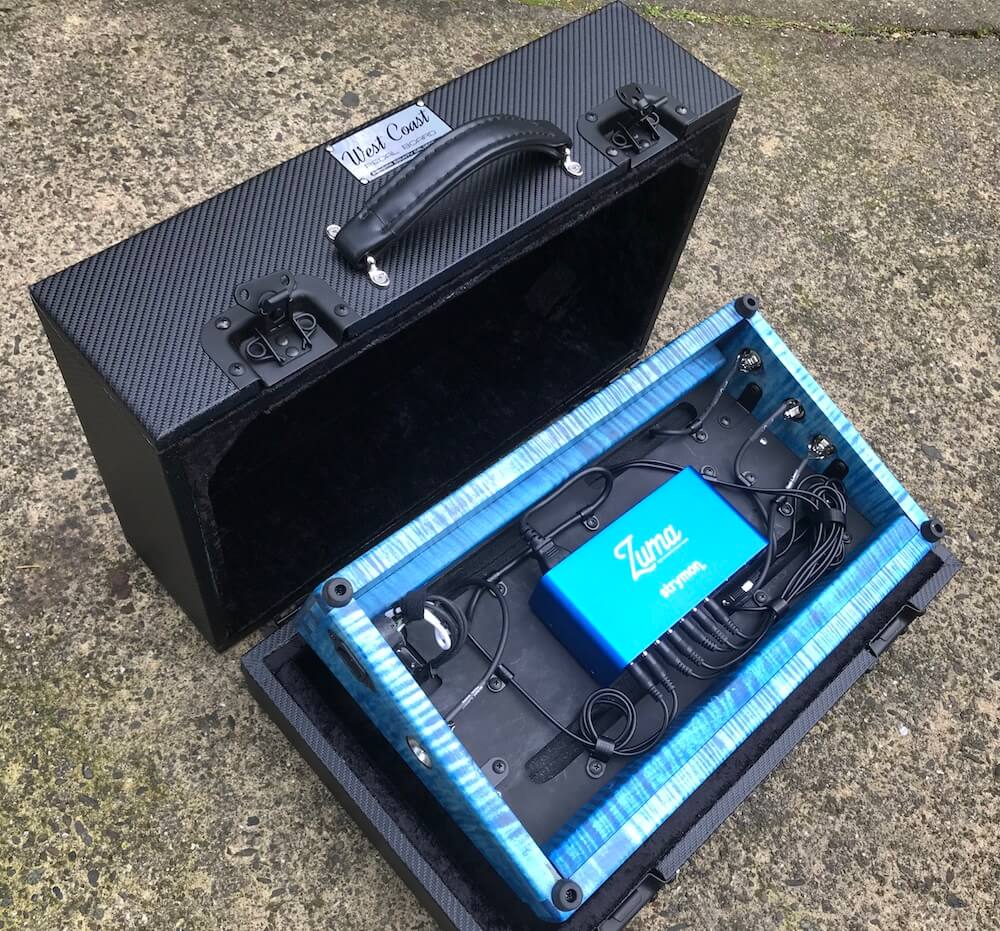
The type of pedalboard matters as well, if its angled it could be made with a convenient slot behind the switcher so cabling can dive under the board and be routed clean. This can also save space vs having to allow for space just for cable runs on the top deck. If its a flat board with no “under-side”, make sure its built with enough room for the cabling to route straight out the back and in-between (sometimes under pedals – custom risers may need to be made). There should be enough room to make slight bends if needed. We recommend a dry setup on a table top or similar so you can actually see the layout and address any potential hurdles before you get neck deep with the board build.
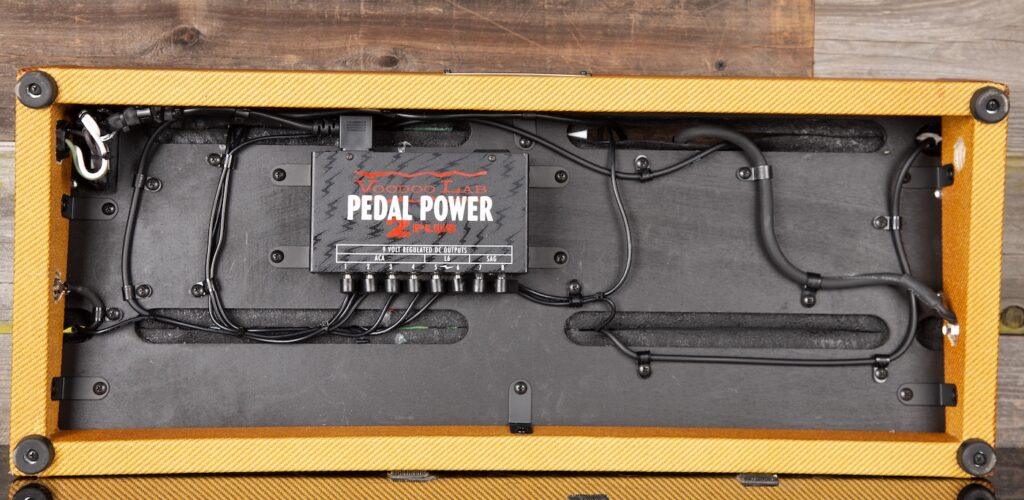
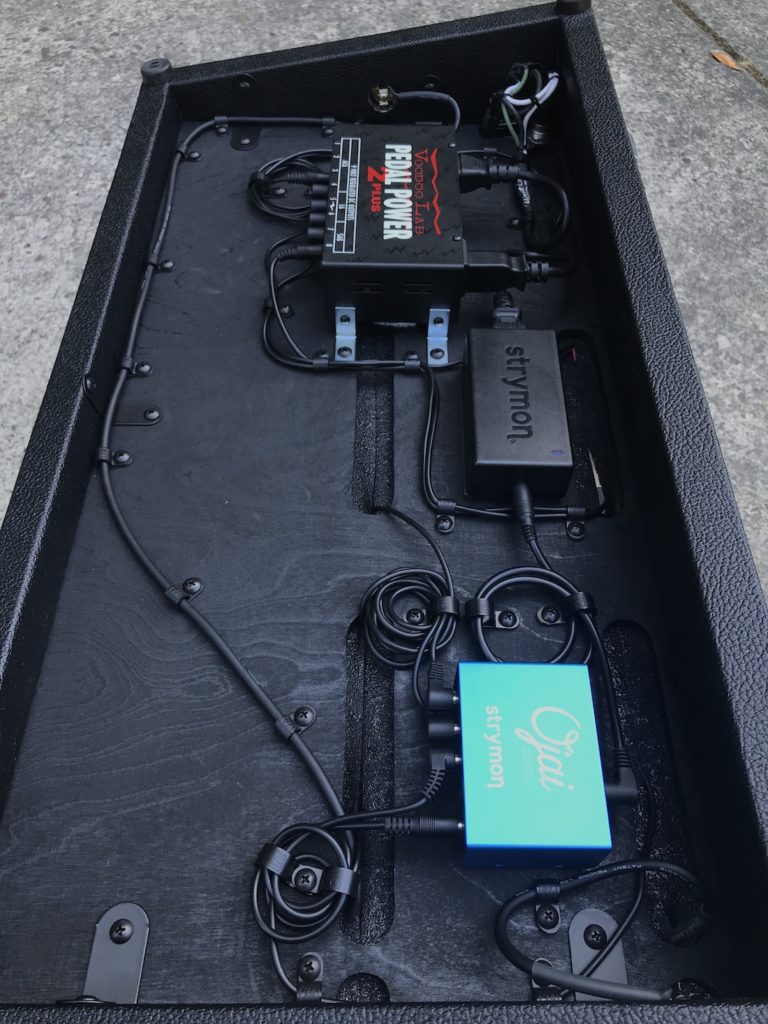
By this time, you’ve likely already calculated your power requirements and chosen your power supplies needed. If you’re running an angled board, those will fit underneath easily and wont require any space up top.
If you need assistance choosing your power section, we got you!
PRE-PLANNING:
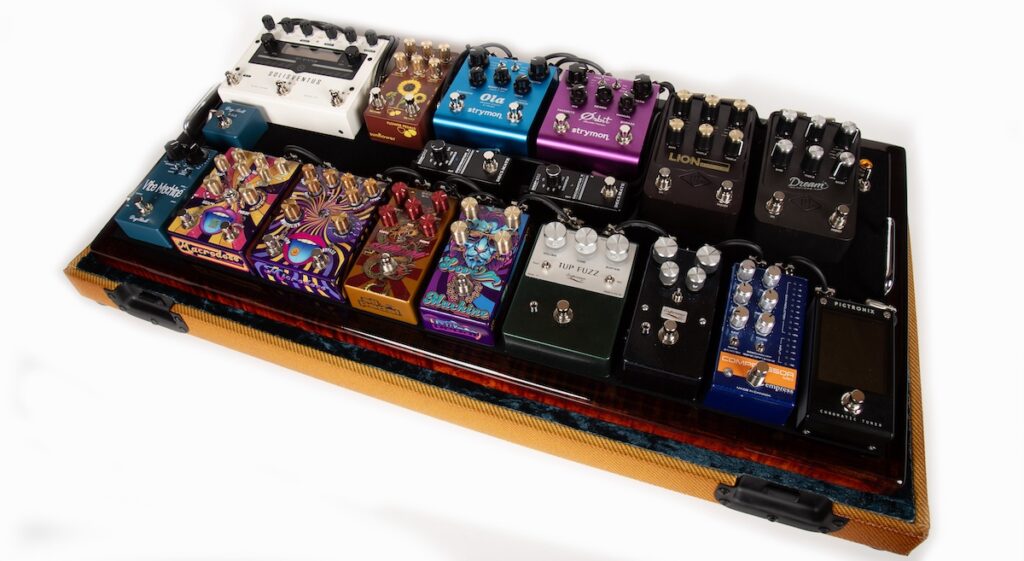
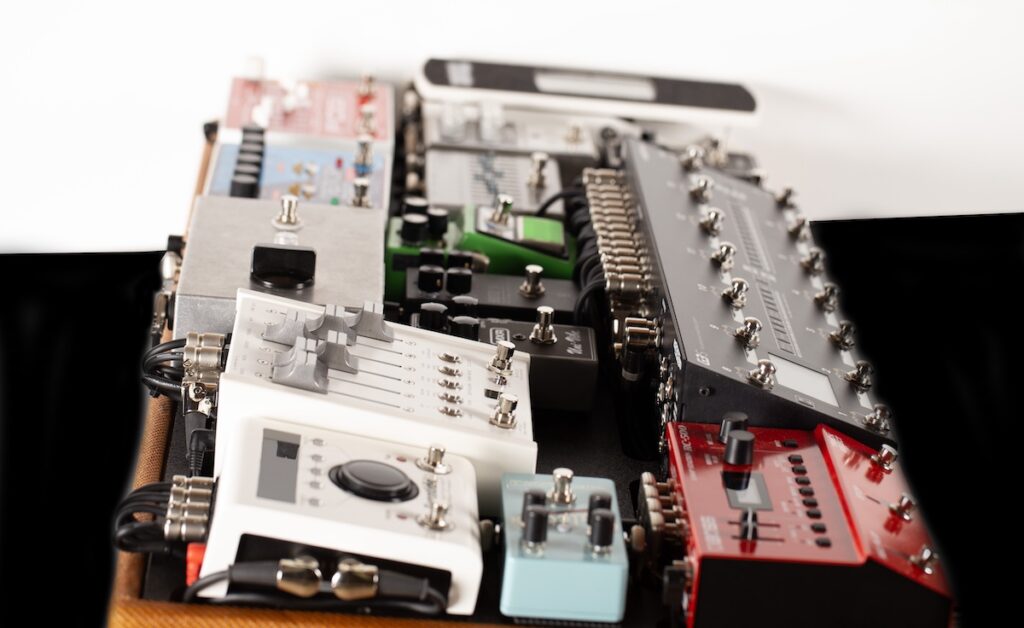
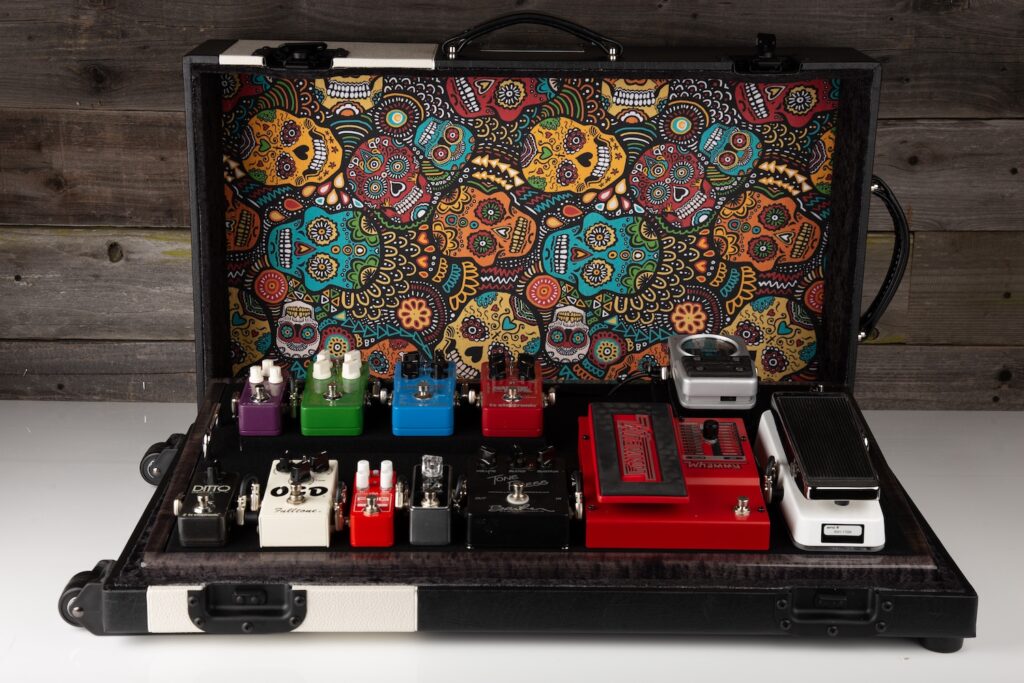
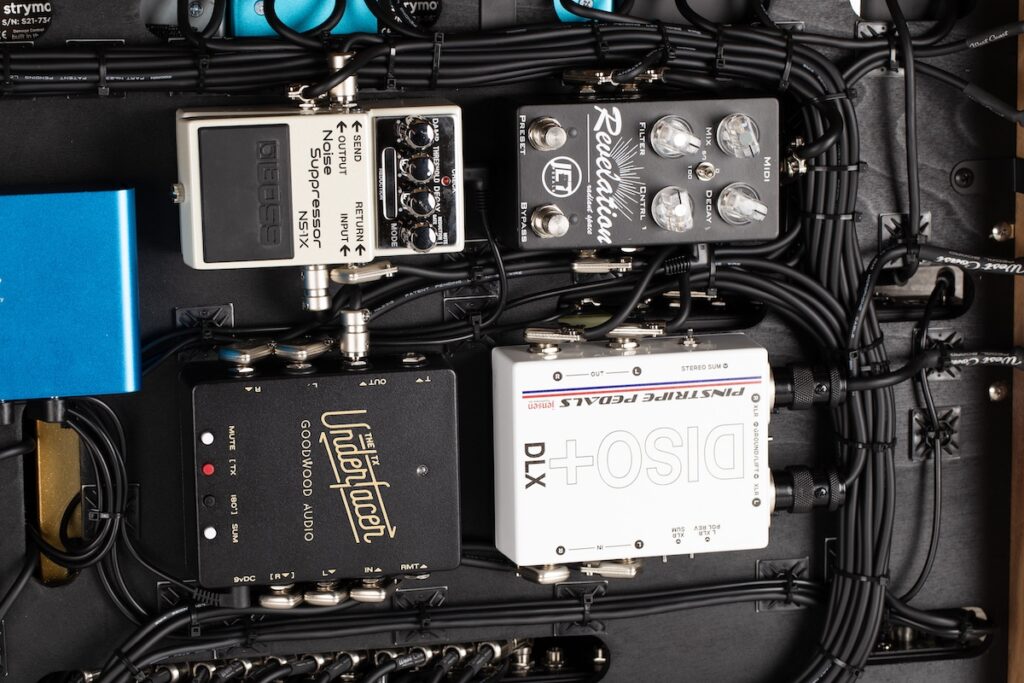
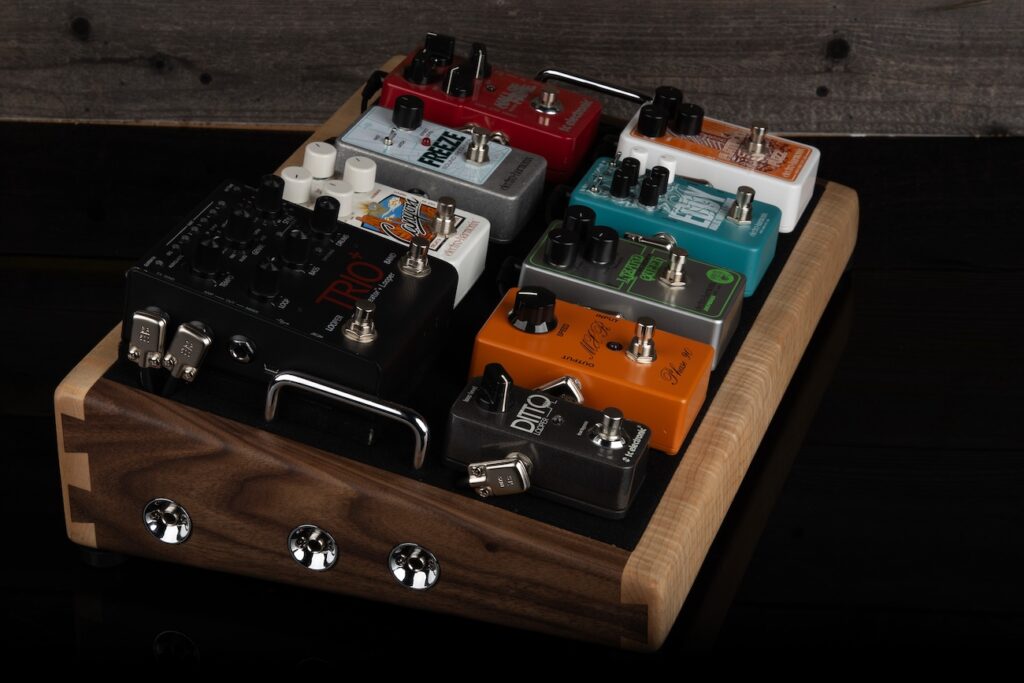
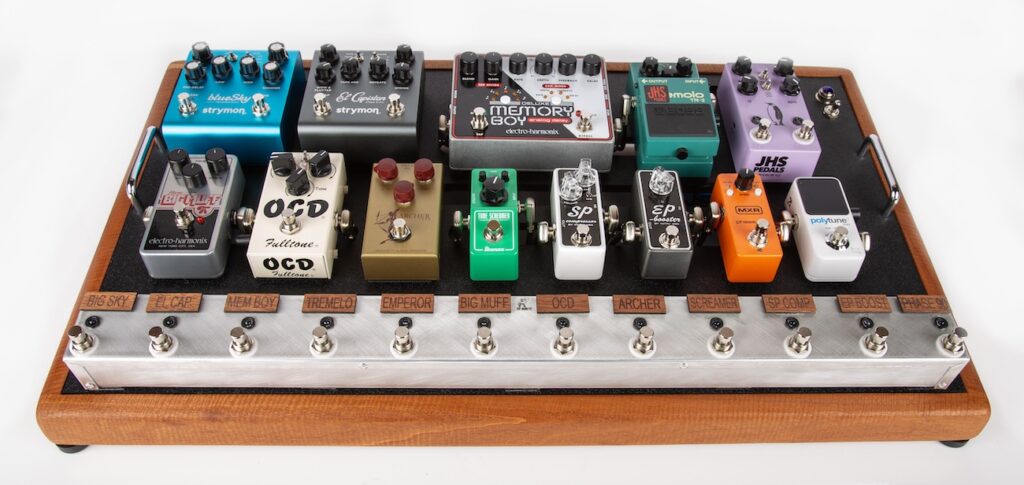
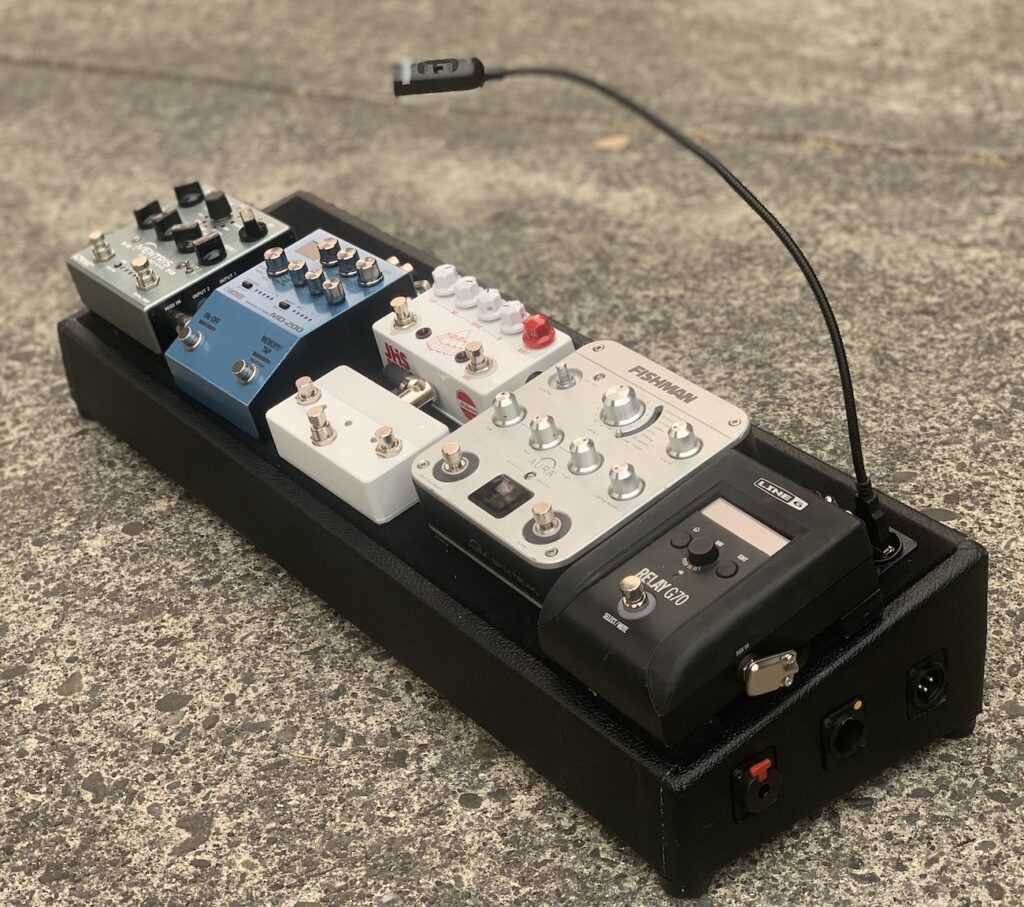
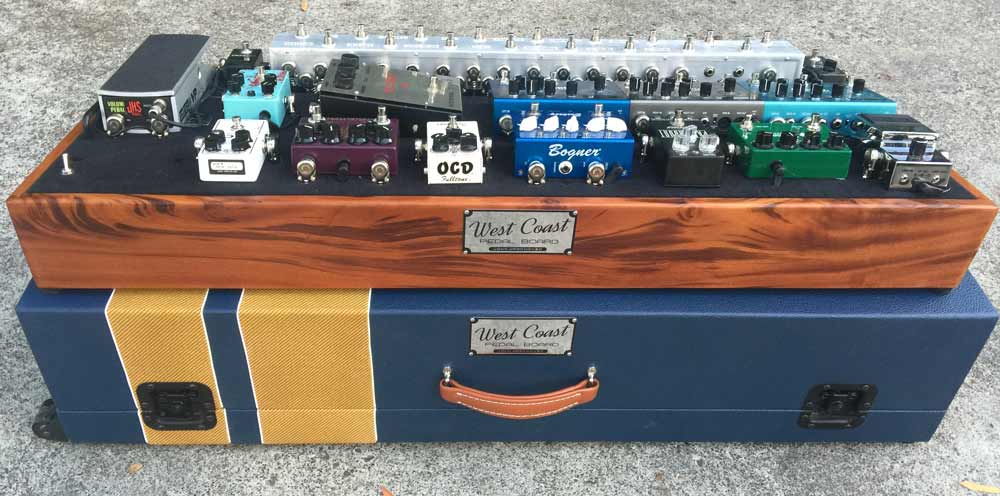
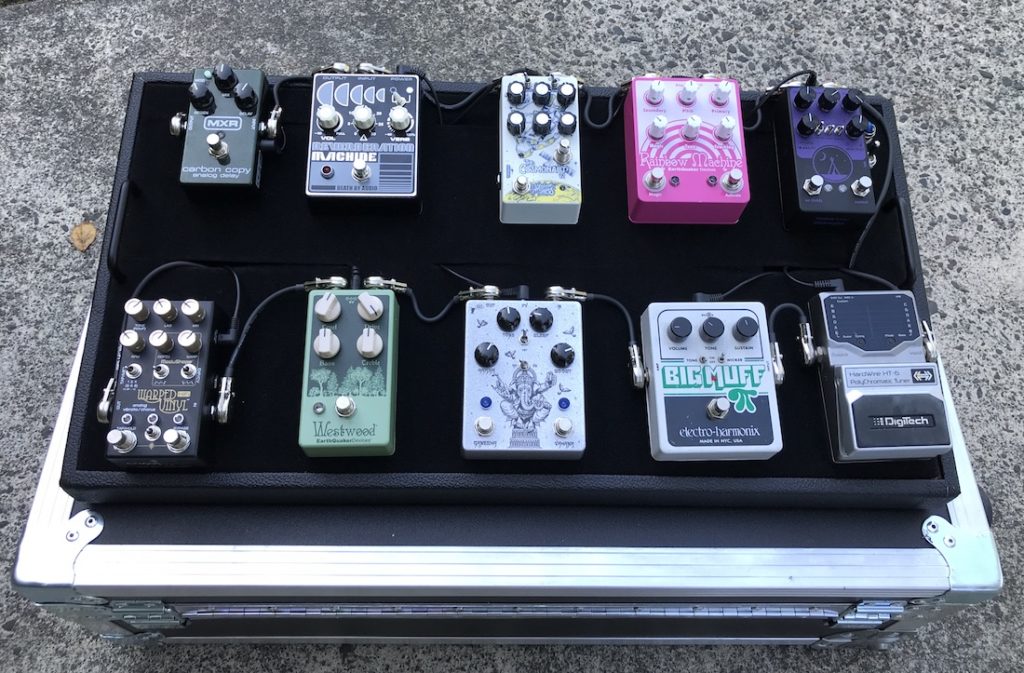
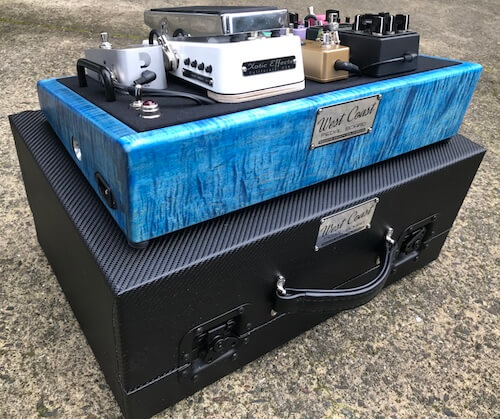
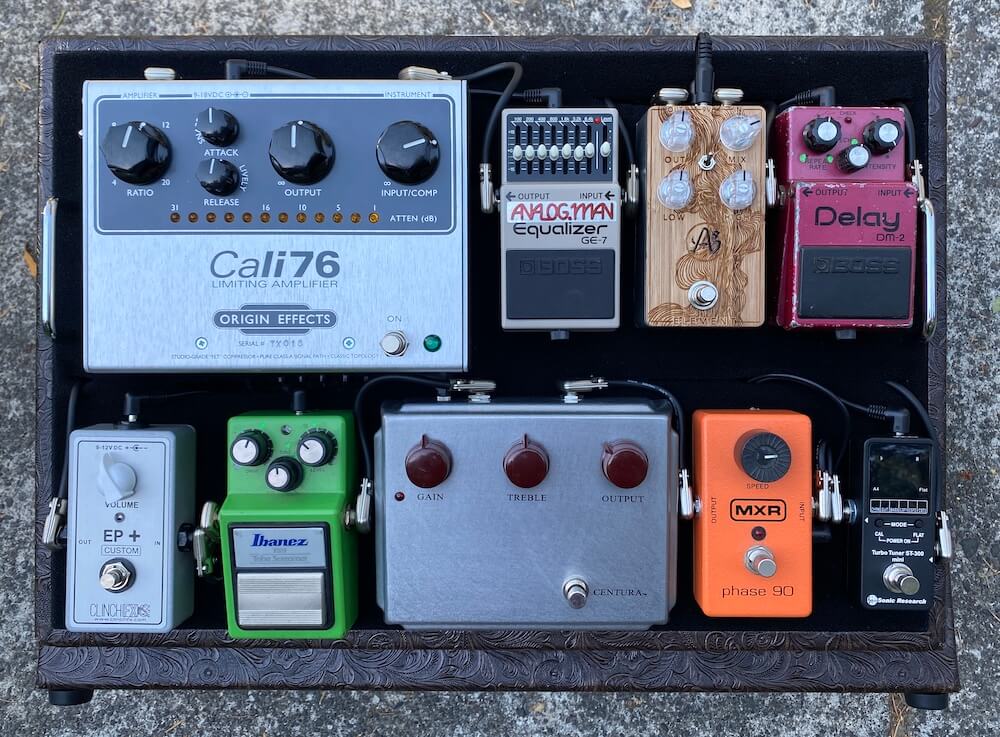
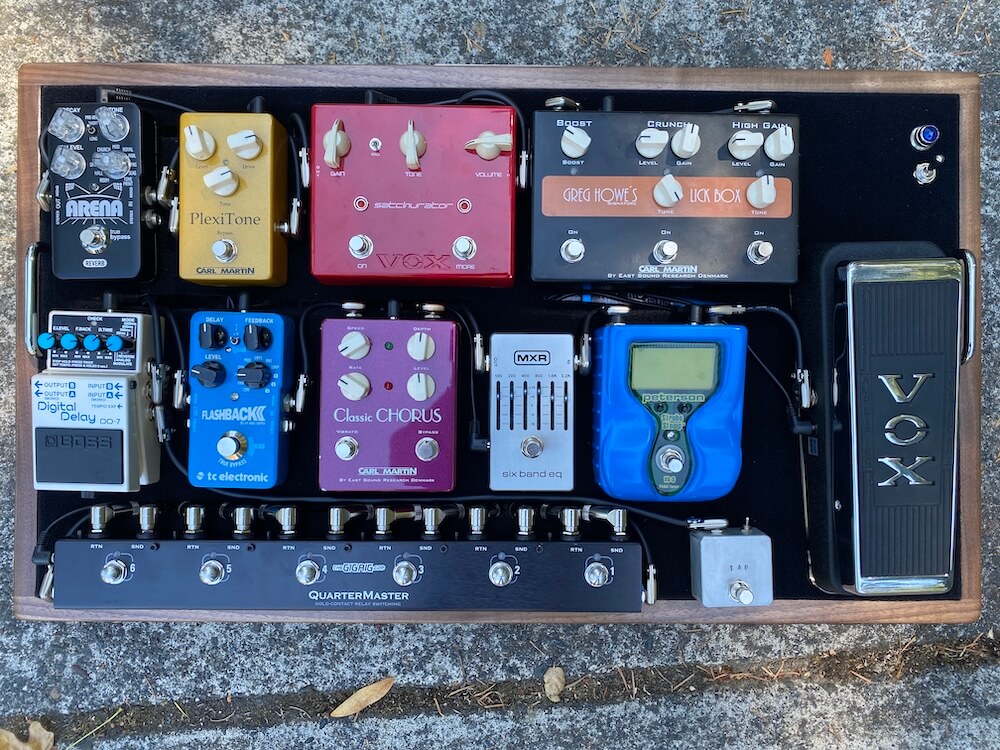
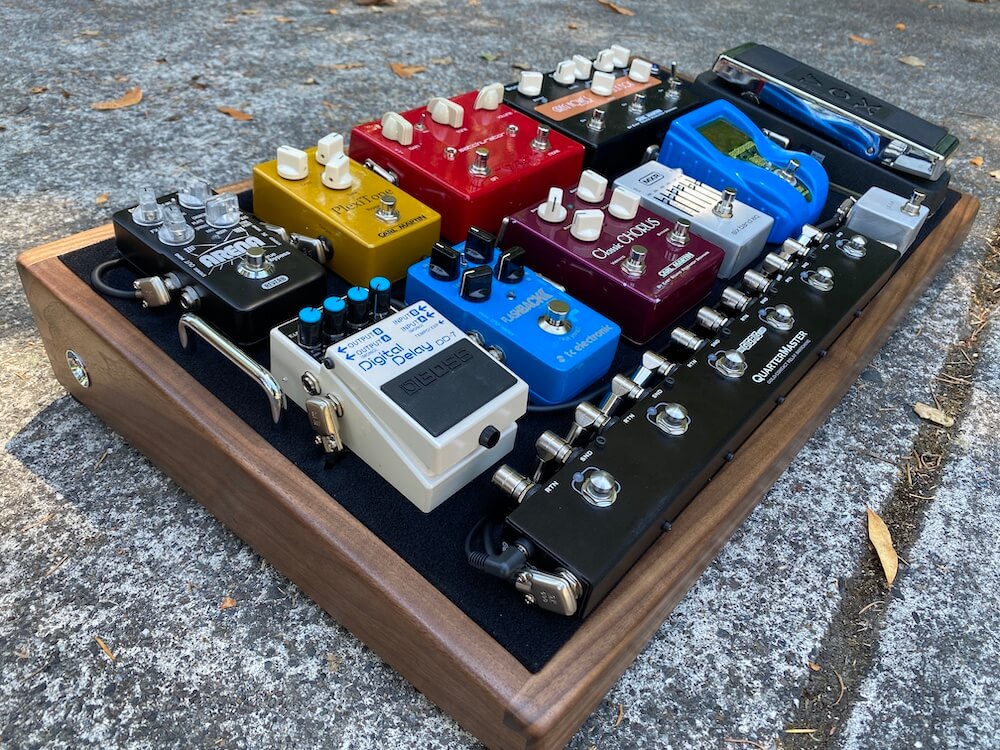
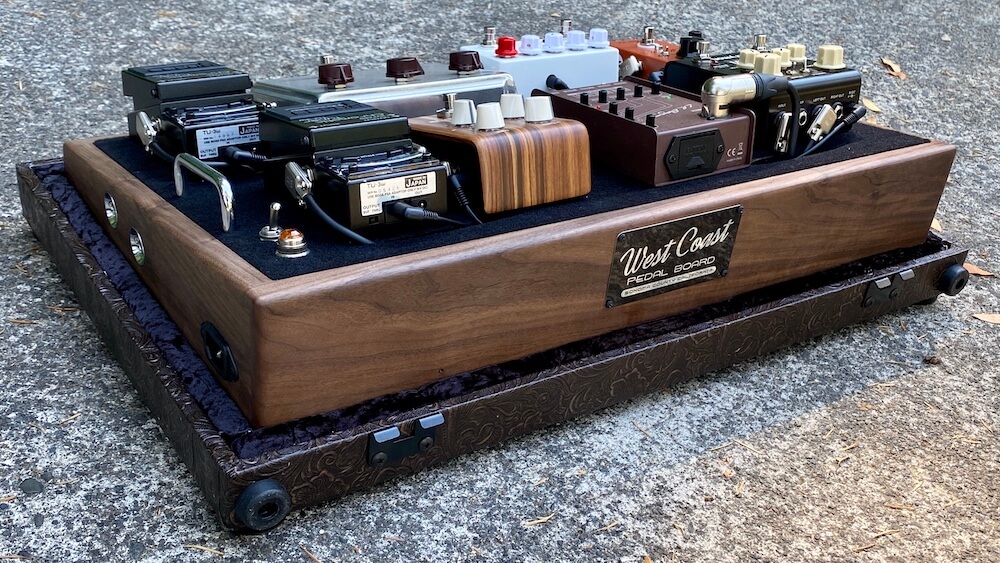
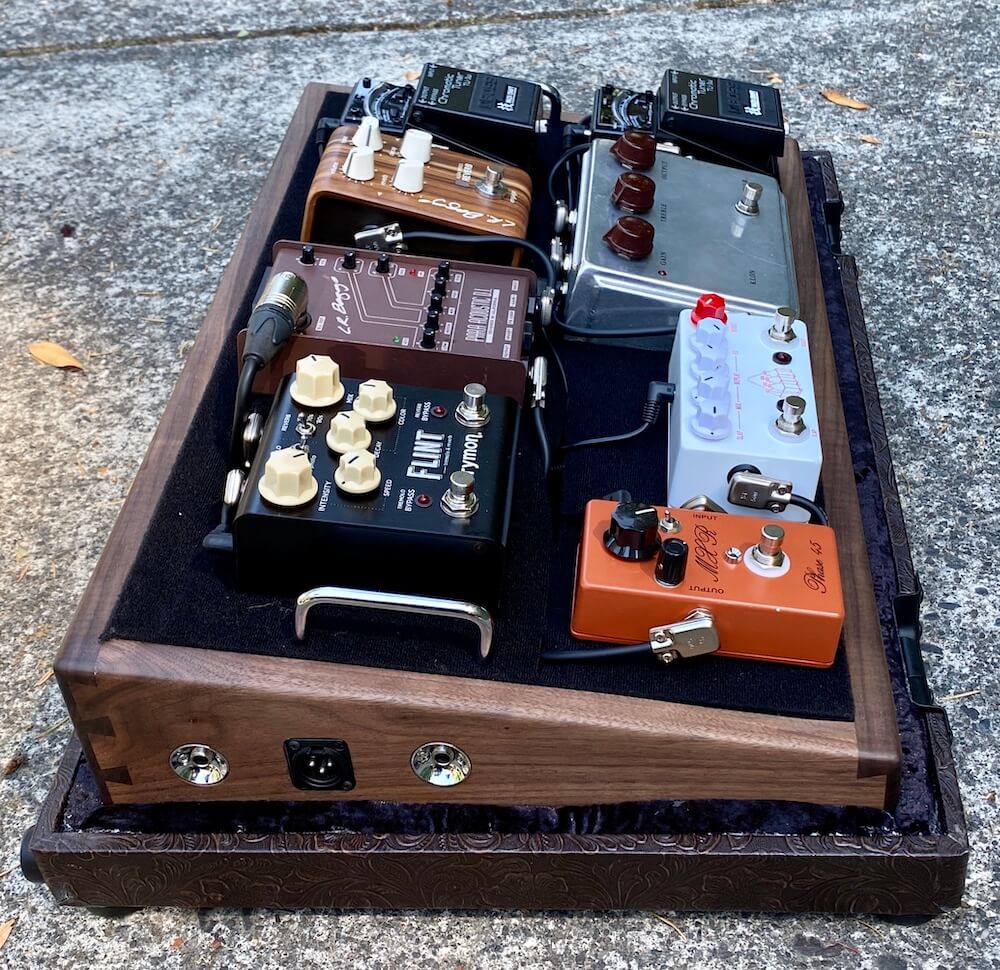
I always suggest laying the pedals out in the format and order in which they will eventually be in on your sized and style of pedalboard. This will help determine how much cable, how many plugs, which type (TS and or TRS) need to be ordered. {You can read this How-To Choose a Pedalboard Size if your still in the board planning stages.} We also suggest some type of cable management. If your installing this on an angled wood board, this kit works really well. Depending on the size of your build, you may need a few kits.
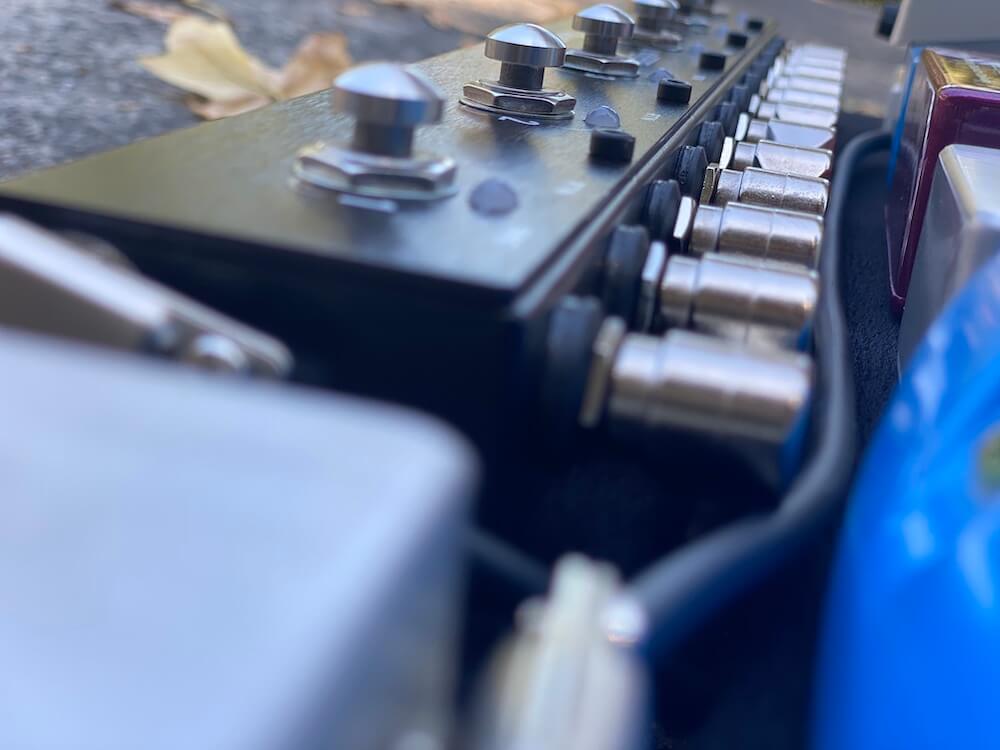
When possible, we recommend putting a slot in the deck surface, right behind the switcher where all the cable output jacks are. This will allow the cleanest cable flow & cable routing options. This also increases your G status to 150,000%
Pro TIP
1/4″ PLUG/SWITCHER COMPATIBILITY:
The following table shows whether the jacks can fit side by side or not.
| Brand | Model | SP500 | SP550-S | SPS5 | S/C 226 | S/C 236 | ||
| Boss | ES5/8 & MS3 | NO | NO | YES | YES | YES | ||
| Disaster Area | DPC5/DPC8EZ | YES | YES | YES | YES | YES | ||
| Carl Martin | OctaSwitch/ OctaSwitch MKII | YES | YES | YES | YES | YES | ||
| G Lab | GSC2/GSC3 | YES | YES | YES | YES | YES | ||
Lehle | PARALLEL L | LITTLE DUAL | DUAL SGOS | D LOOP SGOS | 1AT3 SGOS | 3AT1 SGOS | P-SPLIT II | YES | YES | YES | YES | YES | ||
| **Loop Switcher** | ALL | YES | YES | YES | YES | YES | ||
| One Control | OC10 | YES | YES | YES | YES | YES | ||
| Provedence Audio | PEC4V/PEC2 | YES | YES | YES | YES | YES | ||
| RJM Music | PBC10 | MINI EFFECT GIZMO | YES | YES | YES | YES | YES | ||
| Gigrig | QUARTER MASTER QMX2 | 4 | 6 | 8 | 10 | YES | YES | YES | YES | YES | ||
| Gigrig | G2/G3 | NO | NO | YES | YES | YES | ||
| Strymon | All Pedals | YES | YES | YES | YES | YES | ||
| Voodoo Lab | PEDAL SWITCHER, PX8, PX8 PLUS | YES | YES | YES | YES | YES | ||
| Voodoo Lab | HEX 5 | NO | NO | YES | YES | YES |


AUDIO CABLE & 1/4″ PLUG SELECTIONS:
Making sure you have quality cable is essential. The SPS5, SP500 and Switchcraft 226 1/4″ plugs are T/S (Tip/Sleeve – Mono) and work great with Mogami 2319. The SP550-S and Switchcraft 236 are TRS (Tip/Ring/Sleeve -Stereo) and need Mogami 2549. Both cables and all plugs are industry standards and excellent cable choice for any and all type of pedalboard wiring situations. We have easy to follow video tutorials showing how to properly solder these babies! Video link below….
Check out our Pedalboard Switcher Wiring DIY Patch Cable Kit Builder
TOOLS LIST:
- Pencil or Pen
- String for Measuring Cable
- Cable Strippers
- Soldering Rig w/Solder
- Cable Tester
- ***Optional*** Plug Fixture
INSTALL CHECKLIST:
- DETERMINE SIZE OF PEDALBOARD BASED ON PEDALS AND DEVICES – if you need help with this CLICK ME BABY!
- LAYOUT PEDALS & DEVICES TO CALCULATE MATERIALS NEEDED BASED ON PHYSICAL LOCATION & SPACING OF PEDAL BOARD
- IF POSSIBLE TO MAKE CUSTOM TOP DECK CABLE SLOTS, NOW IS THE TIME. WE USE A PENCIL ON THE BLANK PLYWOOD TOP AND TRACE EACH PEDAL AND MAKE MARKS WHERE HOLES AND/OR SLATS NEED TO BE. YOU’LL ALSO BE COMPLETING YOUR TOP DECK WORK, EITHER APPLYING A VELCRO TOP LIKE OUR SUPER LOOP OR A HARD TOP FOR USE WITH DUAL LOCK – if you plan to cover your deck with loop velcro, we have the best stuff on the market: Super Loop plus a very easy to follow install video.
- USING A STRING, TALLY UP ALL THE CABLE RUN LENGTHS THEN ADD 5% EXTRA FOR “UNFORESEEN-ABLES” <——- YUP ;-D
- CALCULATE WHICH VERSIONS AND QUANTITIES OF EACH PLUG YOU NEED, BASED ON YOUR PEDAL LAYOUT FROM STEP 2
- IF YOUR DUAL LOCK-ing YOUR PEDALS WE HAVE IT, IF YOU NEED BADASS INDUSTRIAL GRADE VELCRO TO USE WITH OUR SUPER LOOP VELCRO TOPS, WE HAVE THAT TOO!
- START SOLDERING AND TESTING CABLES
- SECURE ALL CABLES AFTER TESTING IS 100% SUCCESSFUL WITH CABLE CLAMPS AND SCREW
- WAKE UP THE NEIGHBORS!


